Editing & post-production
Editing fundamentals: cuts, pacing and b-roll
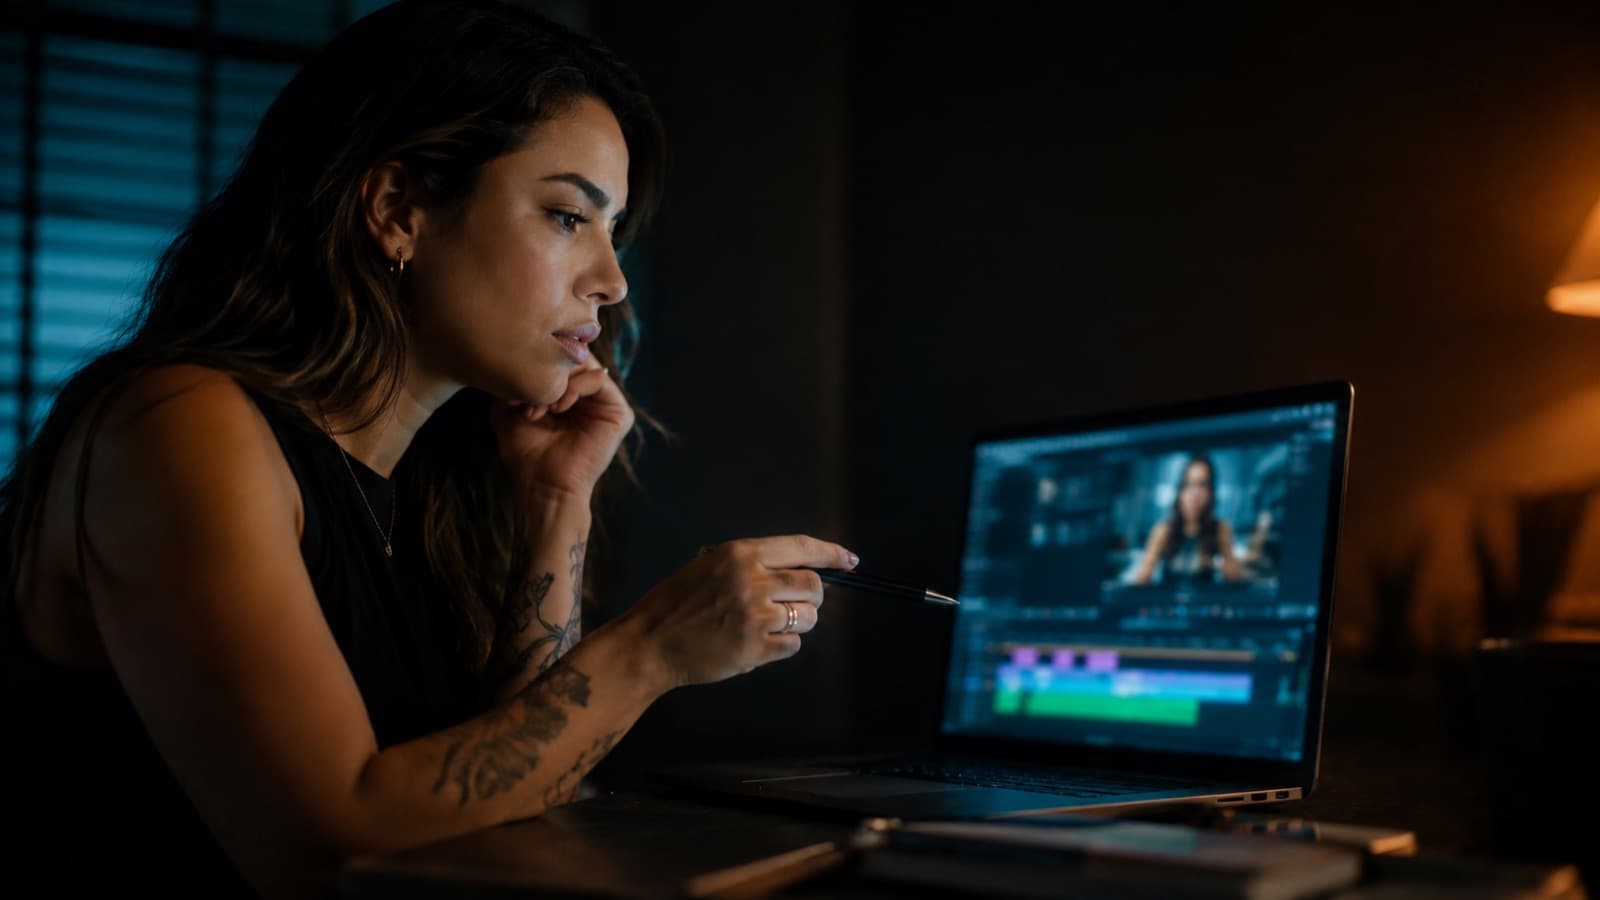
Editing well starts with a few simple ideas — and picking ONE program and sticking with it. The cuts you actually use, the pacing that holds the viewer, the b-roll that enriches, and the right order so you don't redo work.
~12 min read
1. The cuts, in plain English
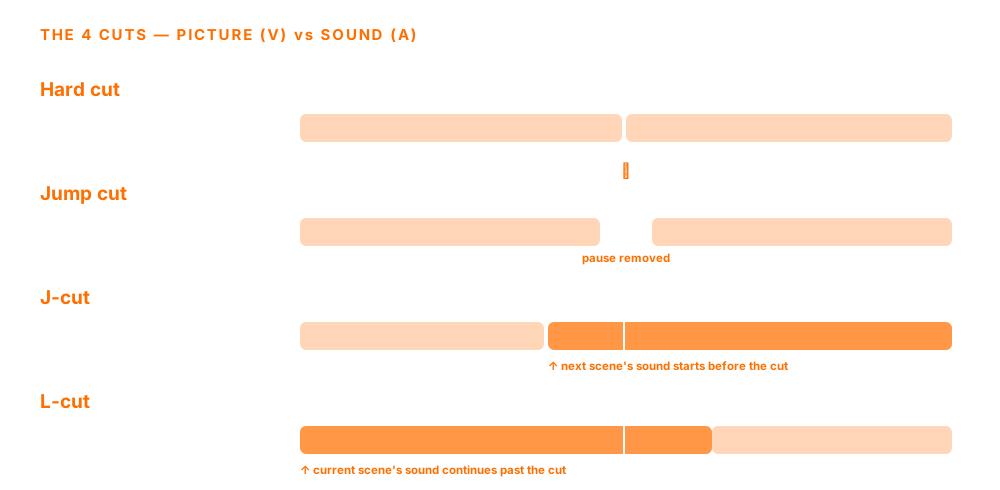
- Hard cut — clip A ends, clip B begins, no transition. It's the most common cut in all of editing — your default. It keeps the pace and feels natural.
- Jump cut — a hard cut WITHIN the same scene that skips in time (same framing, you “teleport” a little). It's the creator's workhorse: record yourself talking, cut the pauses.
- J-cut — the audio of the NEXT scene starts BEFORE you see it (the sound “pulls” the picture in).
- L-cut — the audio of the CURRENT scene keeps going AFTER the picture has already cut away (the sound “stays” underneath). It's a transition between scenes: one scene's sound bridges into the next.
2. Pacing — cut the dead air, keep it moving
- The biggest beginner upgrade — delete silences, pauses and the “um/uh/er” without mercy (the technical name is filled pauses), plus verbal crutches like “like/you know/so”, repeated words and false starts. A lean delivery = watchable.
- Pacing is emotion — fast cuts bring energy; longer shots let an important moment breathe. Vary it on purpose.
- Match the platform — Reels/Shorts/TikTok need a hook + a cut in the 1st-2nd second and a snappy pace; a tutorial can hold its shots longer. The first seconds decide everything — see retention in the first seconds.
- Test it on yourself — watch at normal speed and mark the second where YOU get bored — that's where you cut.
3. B-roll — cover the cuts and enrich
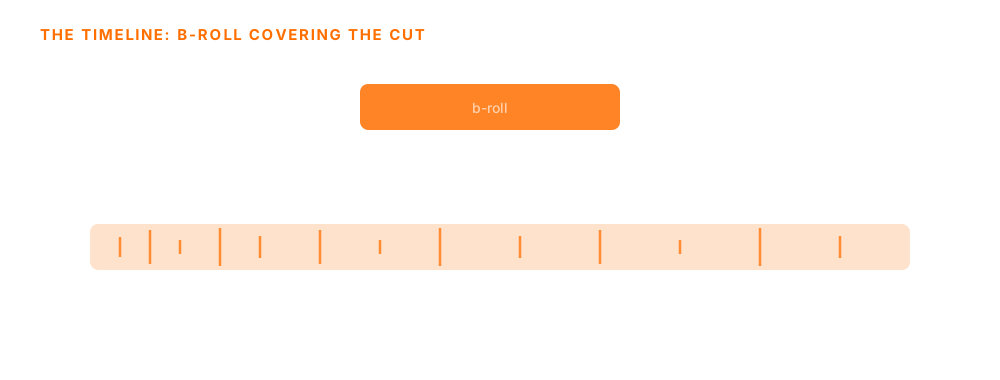
- What it is — supporting footage cut OVER your talking (the “A-roll”): your hands doing the thing, the room, details, screens.
- Hides edits — lay b-roll over a jump cut and the cut disappears — the clean alternative to a visible cut.
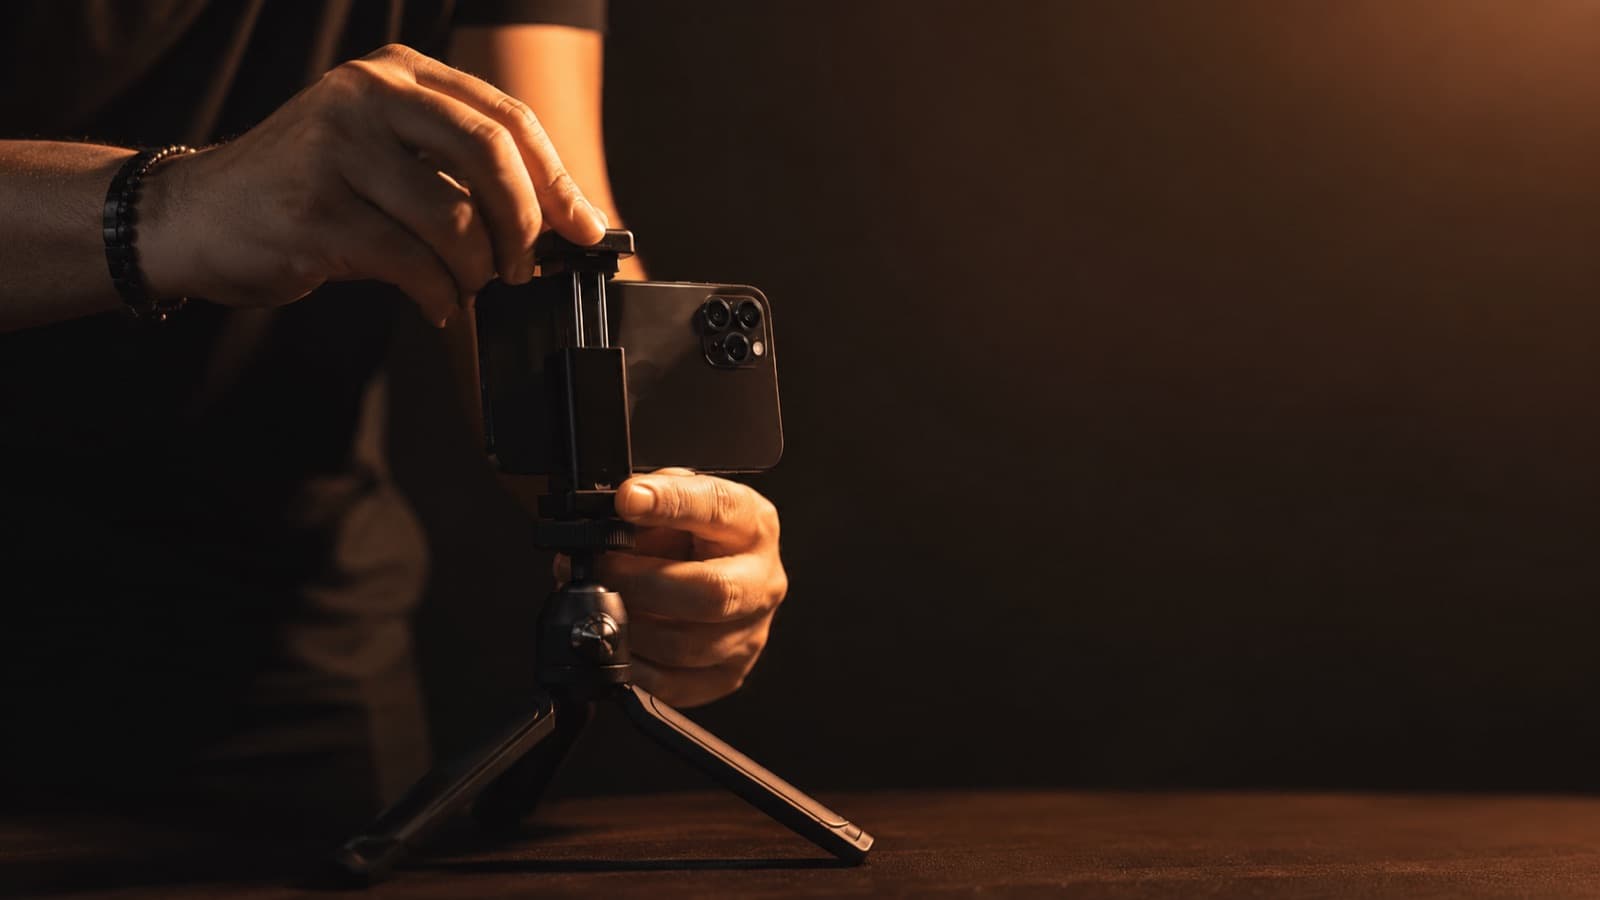
- Show, don't tell — instead of just saying “I set up the camera,” show the camera being set up. It's clearer and more engaging.
- The habit — when you record, always grab an extra 20-30s of details. On a phone it's free — and it's the footage you'll thank yourself for the most in the edit.
4. The order of a good edit (don't skip the sequence)
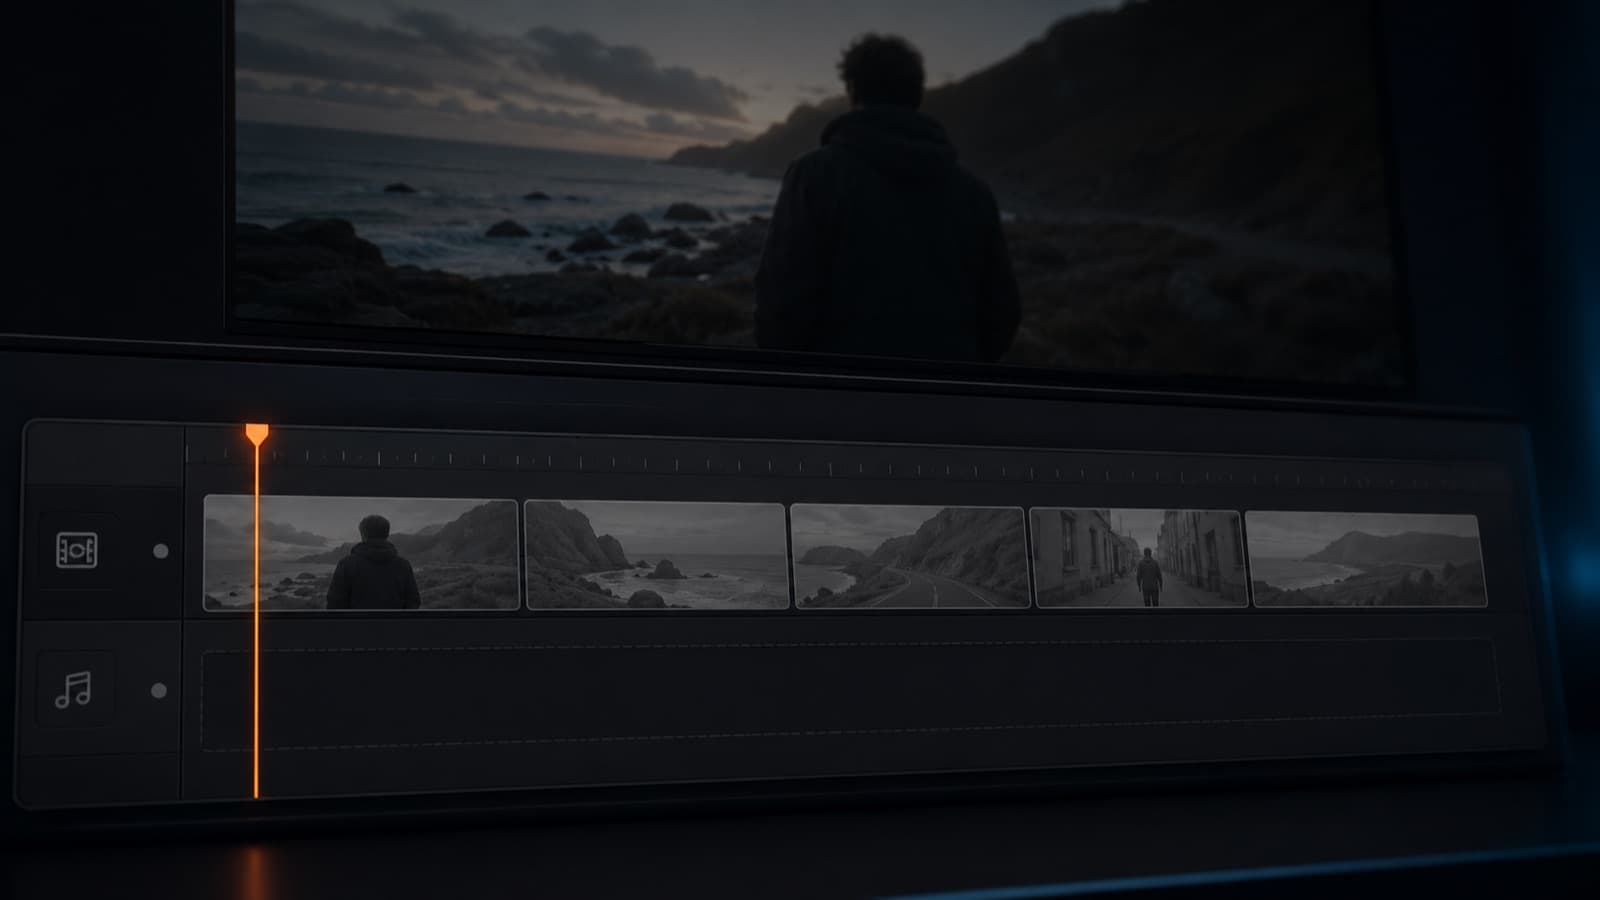
- 1. Rough cut — lay the clips in story order. No effects, no color, no music. Does the structure work?
- 2. Pacing — tighten everything — cut the dead air, add jump cuts and b-roll, lock the timing.
- 3. Audio — fix the VOICE first (level, noise, clarity) and balance voice vs. music — bad audio loses the viewer faster than a bad picture.
- 4. Color — first CORRECT (exposure/balance) so it's natural and consistent; then, optionally, grade the look.
- 5. Music + effects — music that matches the energy + small effects to “sell” the cuts (use royalty-free music).
- 6. Captions — last: captions, titles and name/role. They're not optional — plenty of people watch on mute.
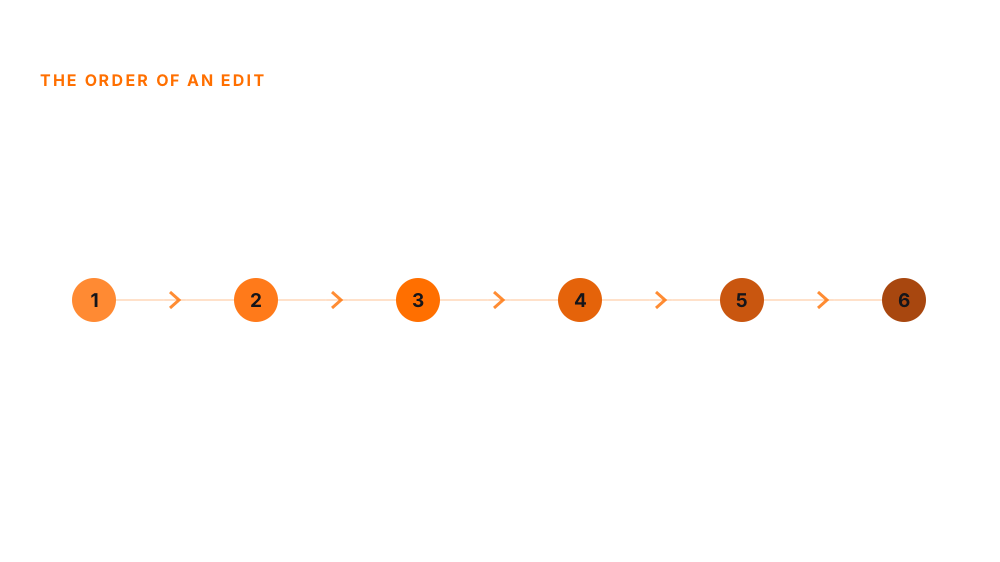
Why the order matters: each step assumes the previous one is locked. If you color or caption before the final cut, you redo it all on every tweak. Details in audio, color, music and captions.
5. Navigate fast: keyboard and mouse
Editing is going back and forth on the timeline all the time. Anyone doing that by dragging the bar with the mouse loses hours. Two habits change the game:
- The J, K, L keys — every editor's universal transport: J goes back, K pauses, L goes forward (tap again to go faster). They're in Premiere, DaVinci, Final Cut, Avid — and even in CapCut on the desktop. Learn these three first.
- Keyboard shortcuts in general — space (play/pause), the cut key (C or B, depending on the editor) and the arrow keys to step frame by frame. A hand on the keyboard keeps the creative rhythm and is WAY faster than hunting through menus.
- A mouse that scrolls sideways — horizontal scroll sweeps the timeline without grabbing the scrollbar — exactly the back-and-forth of editing. (Which mouse, in the gear section below.)
6. Once you get the hang of it (next level)
- Cut on action — cut in the middle of a gesture (the person turns, sits, opens the door) and let it finish on the next shot — the movement hides the cut and feels continuous.
- Match cut — link two shots by a similar shape or movement (one circle becomes another circle). It gives a “wow” and changes subject without a jolt.
- Motivated cut — cut when something on screen asks for it — a look, a sound, a movement. Then the cut becomes invisible.
- The mute test — watch the cut WITH no sound to see if the visuals flow on their own; then listen to just the audio to see if the story holds. Plenty of people watch on mute — which is why captions matter so much.
7. Which editor to use (by level)
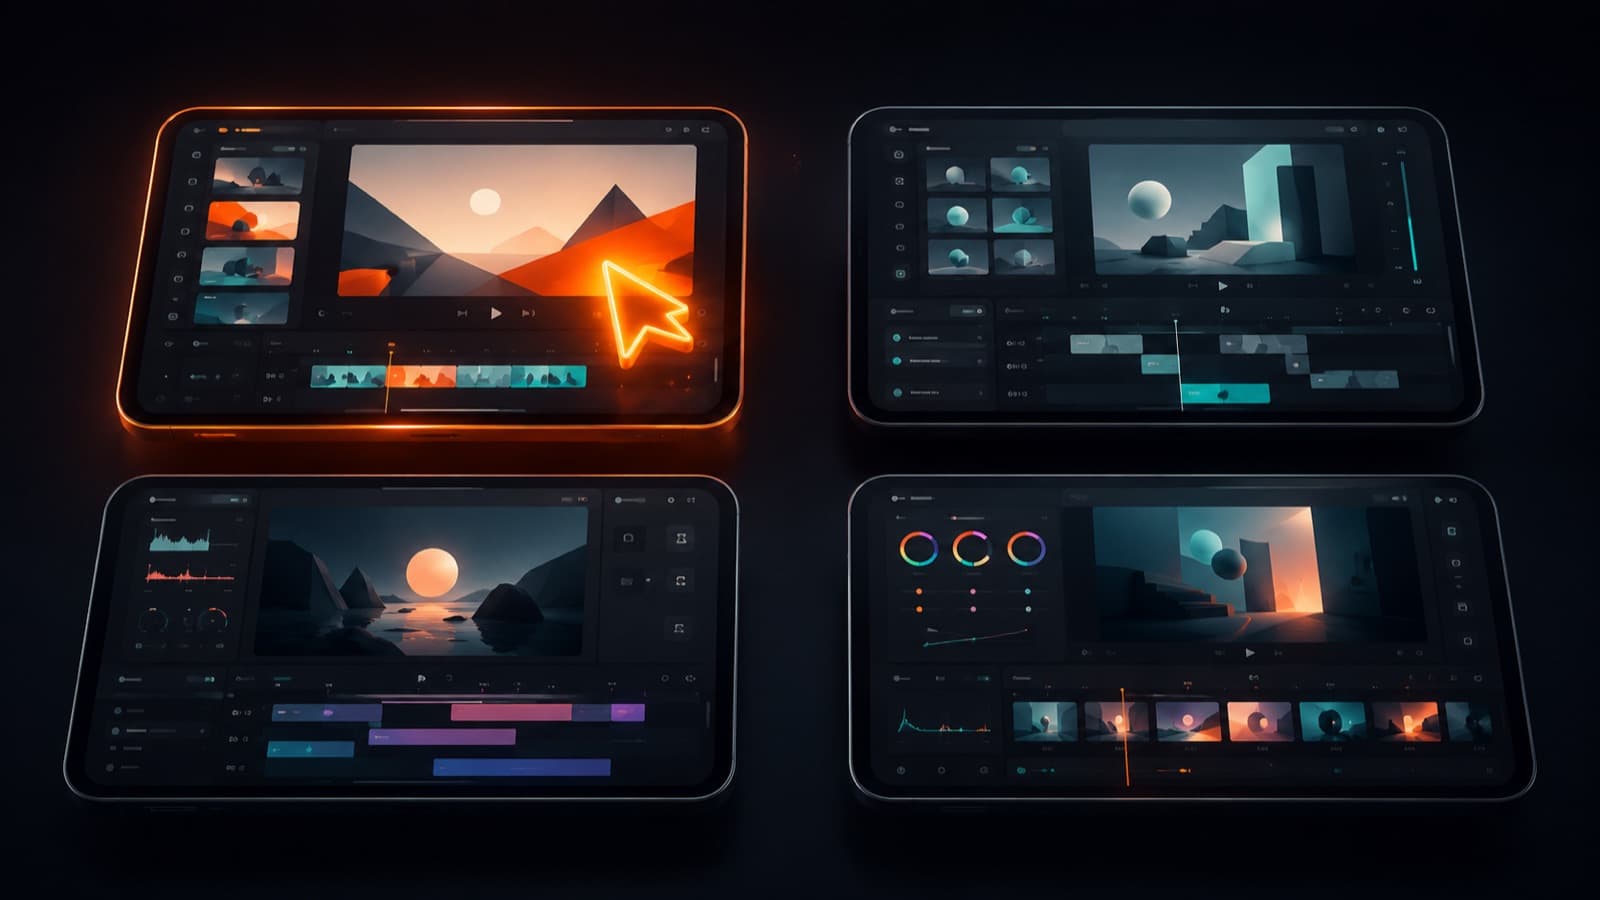
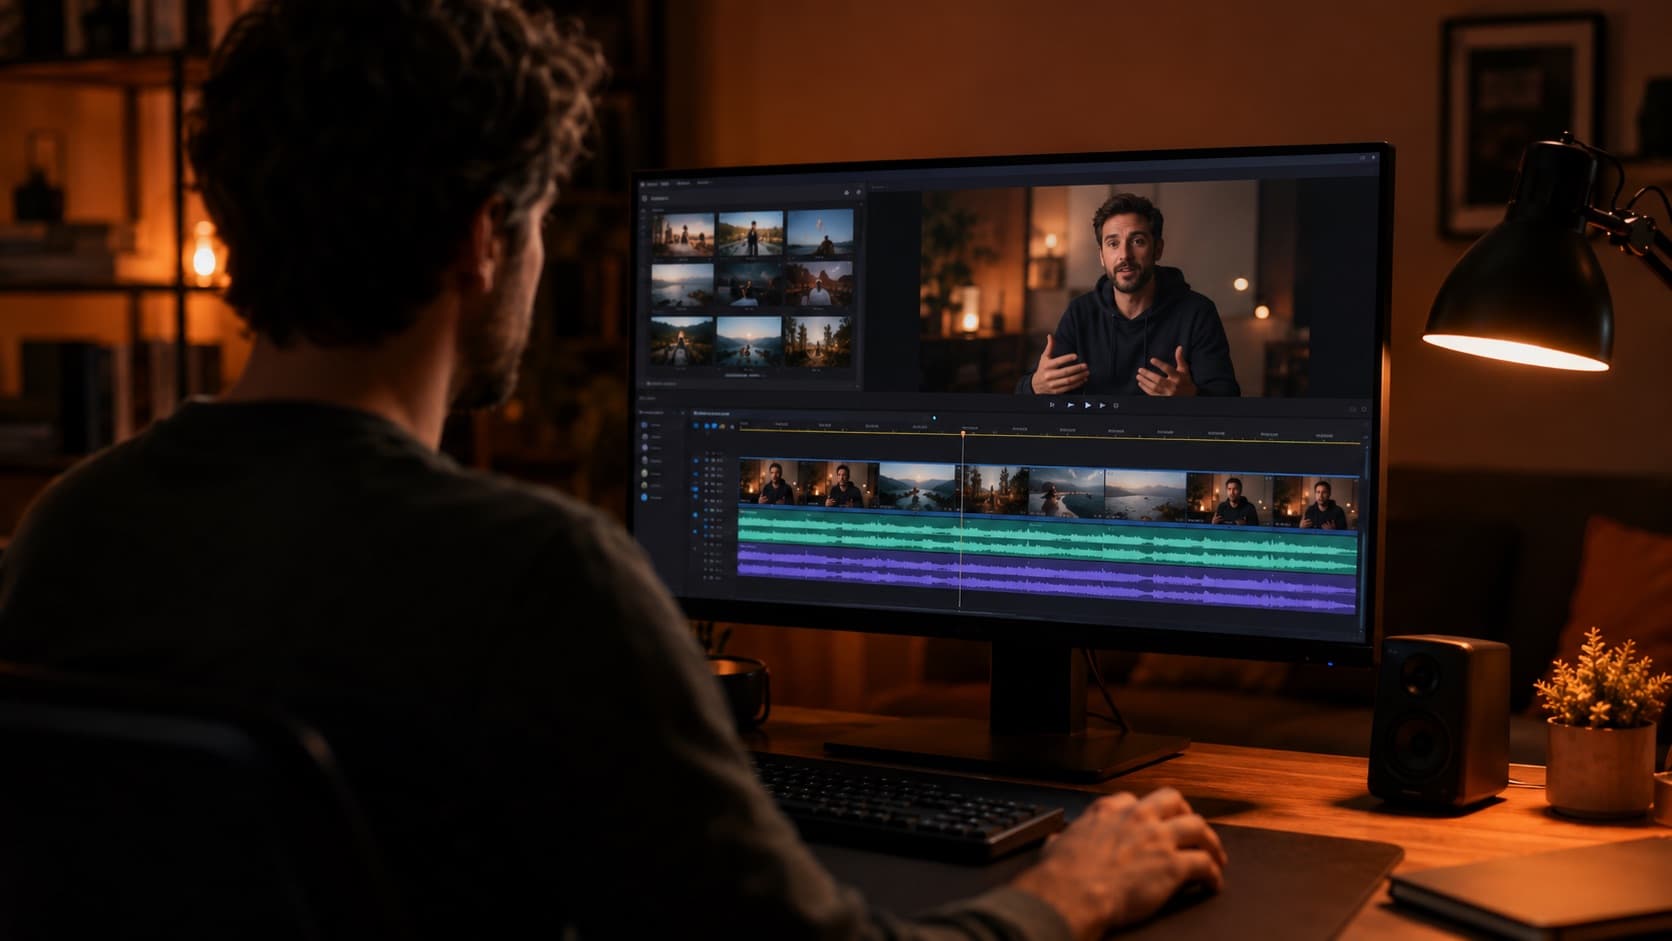
- CapCut — free (phone + PC) — for the beginner and anyone who's phone-first: it gets you a captioned video with music in a flash. On CapCut Pro (paid), with an account logged in, the same project syncs between phone and computer.
- DaVinci Resolve — free and professional — for anyone who wants to grow without paying; a reference in color and audio. A slightly steeper curve.
- Adobe Premiere Pro — subscription — industry standard; best if you already live in the Adobe ecosystem or collaborate with people who use it.
- Final Cut Pro — Mac only, one-time purchase — fast and fluid for Mac users.
- HEY JOE recommendation — beginner/phone → start in CapCut this week; want real control without paying → move to DaVinci Resolve.
8. Gear that speeds up the edit
Before buying anything: learning your editor's shortcuts is free and pays off more than any device. After that, if you're going to invest, the order that helps a beginner the most is this:
- First, what unblocks the machine — a fast SSD for your footage, 16 GB+ of RAM and a 2nd monitor. It's what takes the stutter out of the timeline — cheaper and more impactful than any controller.
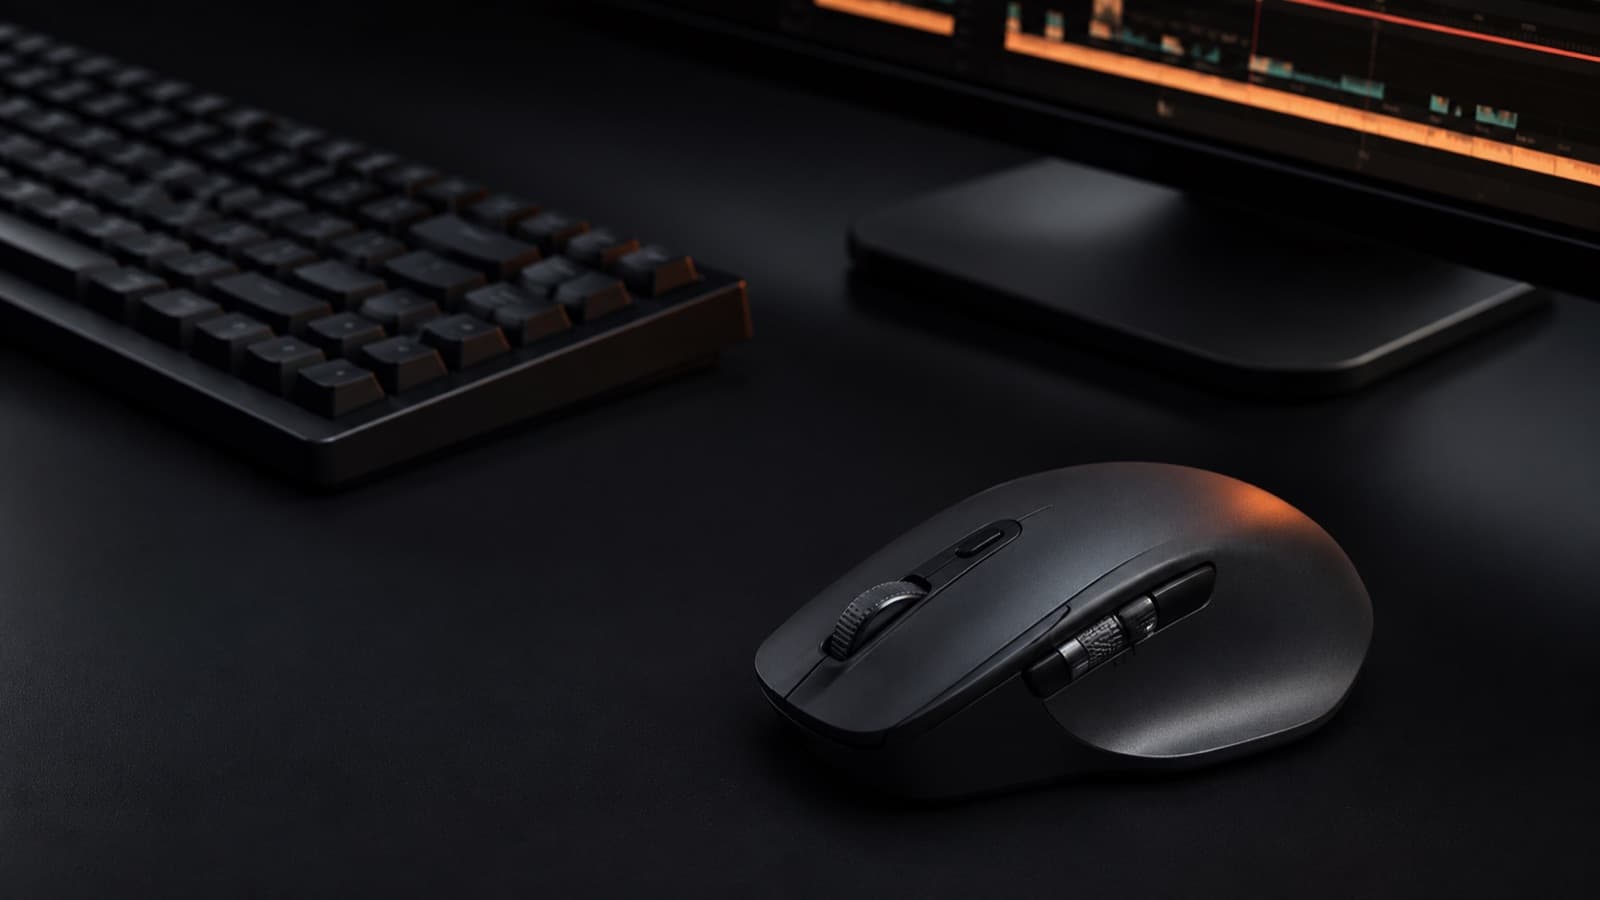
- Then, a good mouse — the Logitech MX Master 3S has a side wheel (the “thumbwheel”) that scrolls the timeline sideways without grabbing the bar — exactly the back-and-forth of editing. Best bang-for-buck peripheral, and easy to find worldwide.
- Last, controllers — a Stream Deck (one-tap macros), TourBox and Contour's jog/shuttle are comfort and speed for anyone who already edits a lot — they don't replace knowing the shortcuts. Outside the US they're usually imported (pricier and less common), so leave them for last.
9. Export without ruining it at the end
You cut it all beautifully — don't throw it away at export time. The basics that avoid a heavy, blurry or cropped video:
- Keep the footage's resolution and FPS — export at the same resolution and frames-per-second you recorded in — don't “force” 4K on a video that was born Full HD. The right numbers per platform are in resolution and FPS.
- MP4 / H.264 format — it's what plays anywhere and what YouTube, Instagram and TikTok ask for. No exotic codec needed.
- Right aspect ratio + safe zone — 9:16 for Reels/Shorts/TikTok, 16:9 for YouTube. Keep titles and faces away from the edges and the app's buttons — see the framing safe zones.
- Don't export from an already-exported file — every export re-compresses and loses quality. Always export from the original project, not from an MP4 you'd already made.
10. Let AI do the boring work
Today's tools automate exactly the most tedious parts — as long as you review the result:
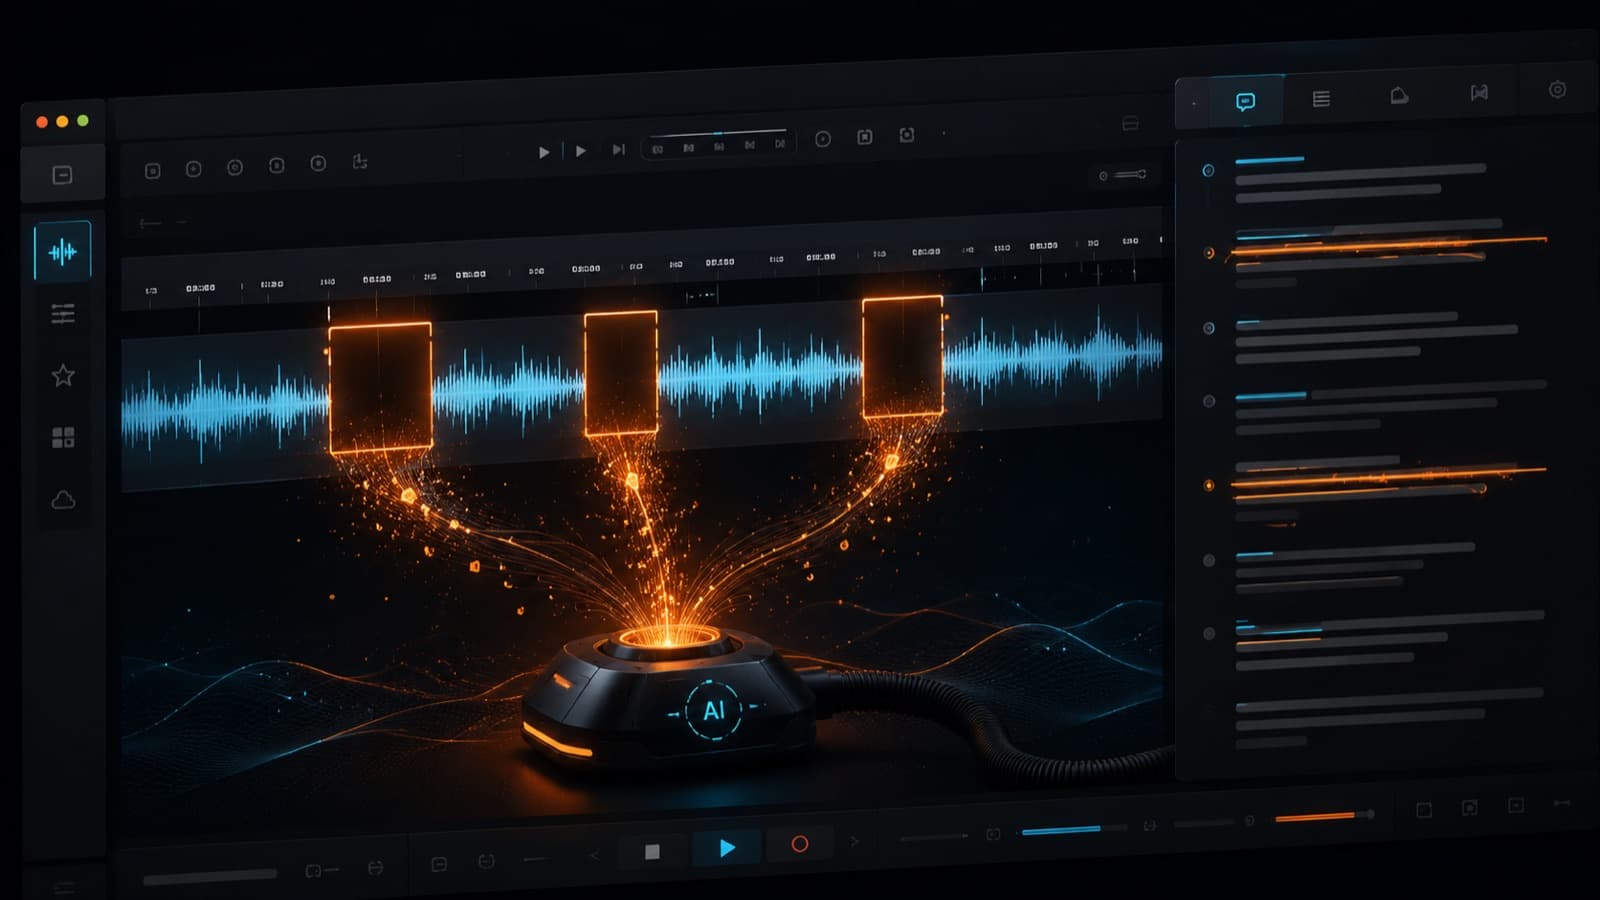
- Cut the silences automatically — CapCut and Premiere detect and remove pauses and “um/uh” automatically — the biggest pacing upgrade from section 2, now in one click.
- Auto captions — most editors generate captions with one tap. Always review proper names, numbers and punctuation — AI gets exactly those wrong.
- Text-based editing — in Premiere (and others) you edit by cutting a TRANSCRIPT as if it were a document: delete the sentence in the text, and the clip disappears from the video.
- The rule — AI speeds you up, it doesn't decide. It clears the obvious; the pacing, the emotion and what gets left out are still your call.
When editing stops being worth your time
Knowing how to edit is a superpower — and early on it's invaluable to learn it hands-on. But there comes a point where every hour on the timeline is an hour you're not recording, selling or resting. An experienced editor spends 30 to 60 minutes per finished minute: a 10-minute final video can be 7 to 10 hours at your desk. As volume grows, the math flips: outsourcing the editing gives your most expensive hours back.
That's exactly HEY JOE's work: it's always the same editor — the same style on every video, with more than 9,100 videos edited — applying everything that's here (cuts, pacing, b-roll, audio, color) on an agreed deadline and with a client portal where you track the status of each delivery. If you'd rather record and leave the post to us, see whether it's worth hiring a professional editor — and how a single well-edited recording becomes several pieces of content.
Quick questions
What's the best video editor for beginners?
For anyone starting out — and especially anyone editing on a phone — CapCut is the fastest route: the free plan is generous and gets you a captioned video with music in no time (some AI features and 100% watermark-free export need the paid plan). Anyone who wants to grow without paying and have real control moves to DaVinci Resolve (free and professional). They're all global. The rule that matters most: pick ONE and finish videos in it before switching — the tool matters less than the habit.
What's the difference between a J-cut and an L-cut?
Both detach the audio from the picture between scenes. In a J-cut, the audio of the NEXT scene starts before you see it (the sound pulls the picture in). In an L-cut, the audio of the CURRENT scene keeps going after the picture has already cut away (the sound stays underneath as a bridge). The name comes from the shape the audio draws on the timeline — it has nothing to do with the J/K/L keys on the keyboard.
What is b-roll and why does it matter?
B-roll is the supporting footage cut over your talking (the A-roll): your hands doing the thing, the room, details, screens. It hides cuts (lay b-roll over a jump cut and the cut disappears), it shows instead of just telling, and it gives the eye a break. The habit that saves the edit: when you record, always grab an extra 20-30s of details — on a phone it's free.
In what order should I edit a video?
Always in the same sequence, because each step assumes the previous one is locked: 1) rough cut (clips in story order), 2) pacing (cut the dead air, add jump cuts and b-roll), 3) audio (fix the voice first, then balance with the music), 4) color (correct before you grade the look), 5) music + effects, 6) captions and titles last. Coloring or captioning before the final cut = redoing everything on every tweak.
Do I need a powerful computer to edit video?
It helps, but it's not the first thing to spend on. Learning your editor's shortcuts is free and pays off more than any device. If you are going to invest, the order that unblocks the most is: a fast SSD for your footage, 16 GB+ of RAM and a second monitor — that's what takes the stutter out of the timeline. CapCut runs well even on a phone; DaVinci and Premiere ask for more machine, especially in 4K.
Is it worth editing it myself or hiring an editor?
It depends on what your time is worth. Editing it yourself is the best way to learn and to have full control early on. But an experienced editor spends 30 to 60 minutes per finished minute — a 10-minute final video can be 7 to 10 hours at your desk. As volume grows, outsourcing the editing gives those hours back to what only you can do. The point is the professional package: quality + deadline + consistency.
Sources
- No Film School — J and L Cuts — what they are and why to use them.
- StudioBinder — What Is a J-Cut — the cuts explained with examples.
- TechSmith — How to Edit Videos — L-cuts and J-cuts in practice.
- Wikipedia — J cut — the origin of the name: the SHAPE on the timeline (not the JKL keys).
- PremiumBeat — J, K, L editing shortcuts — the universal transport keys (J/K/L).
- VideoUniversity — Shoot for the Edit — why a good edit starts in the recording.
- Wikipedia — Cutting on action — cutting on movement and the match cut.
- Adobe — Text-based editing — editing the video by cutting the text (Premiere).
- CapCut — Auto captions — generate captions with one tap.
- Adobe — Export for social media — H.264 and “Match Source” on export.
Editing is what turns raw footage into a video that grips — and it's the heart of HEY JOE's work. Start with the basics on this page; and when the timeline becomes the bottleneck, knowing when it's worth hiring an editor is the difference between growing and stalling. If you'd rather record and leave the editing to us, just reach out.