Online courses
Online courses: turn raw lessons into a premium product
Good content isn't enough. The student senses quality in the very first lesson — and that's what makes them trust you, finish the course and recommend it. Editing is what turns a homemade recording into a product worth the price.
~12 min read
1. From recorded lesson to product
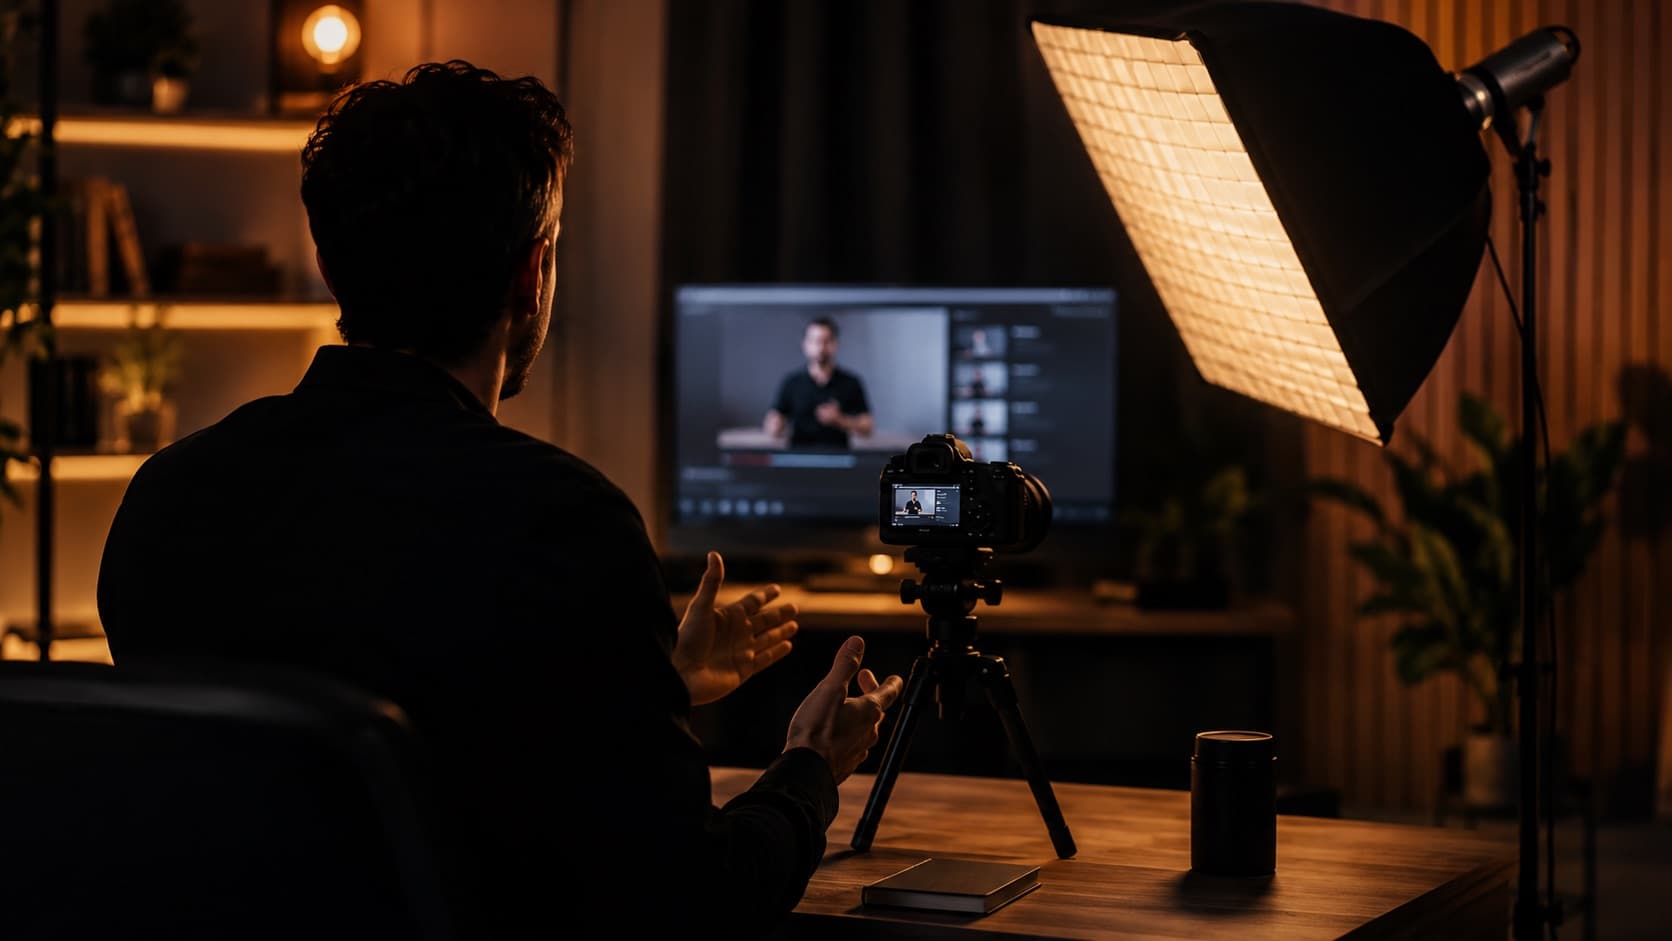
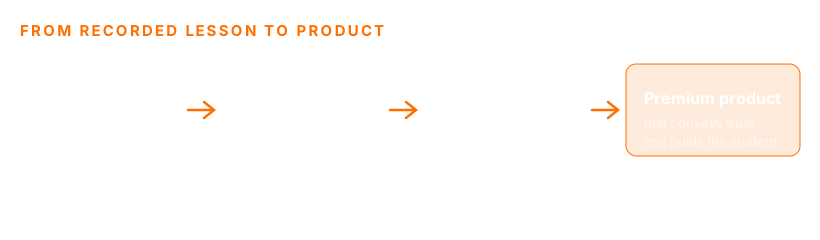
A raw lesson is full of pauses, repeats, “let me start over” and that stretch where you lost your train of thought. Nobody buys it like that — but it's exactly from that raw material that a premium course is born. Editing takes your homemade recording and walks it down a path until it becomes a product that grips from start to finish:
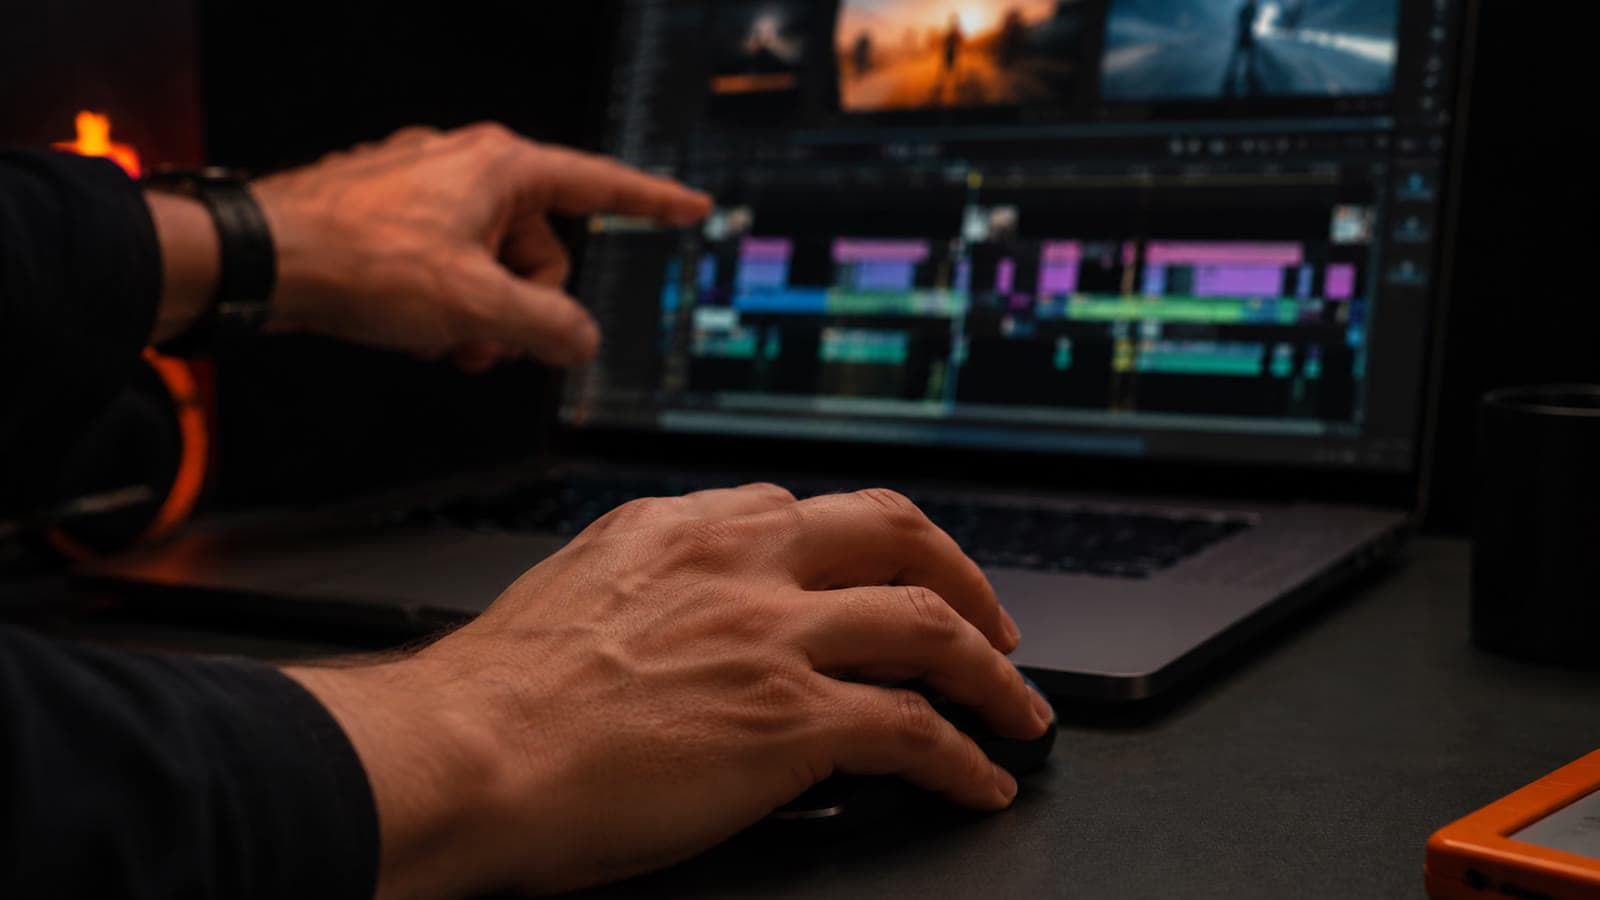
- Cutting the dead air — removing pauses, stumbles and filler keeps the lesson tight — the student learns more in less time.
- Screens, slides and on-screen text — reinforcing the point on screen helps it stick and breaks the monotony of the “talking head.”
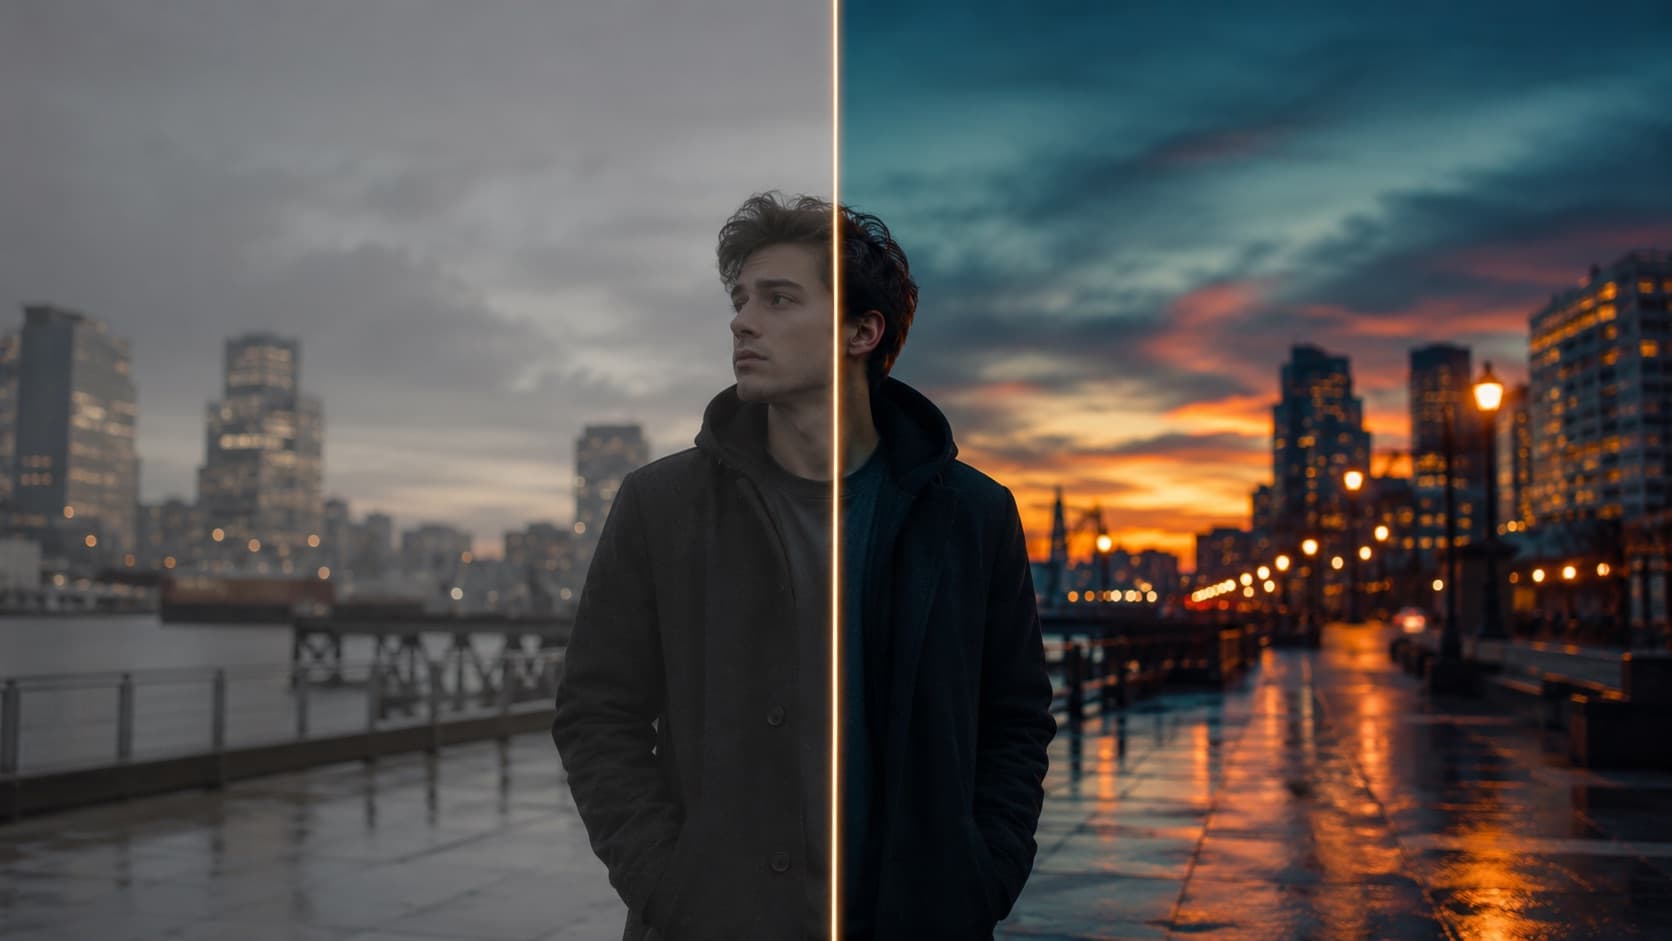
- Color and audio — a uniform picture and a clean voice convey professionalism in the first few seconds.
- Pacing and chapters — a clear structure (intro, topics, recap) lets the student find their place and keep going.
In the end, what was a webcam shaking in the kitchen becomes a lesson the student watches without noticing the time pass. The raw material is the same — what changes is the finish. And the finish is what they pay for.
2. Why this sells (and holds) more
A course is trust. The student can't judge the content before buying — they judge the finish. When the first lesson looks professional, they relax and believe they'll really learn. And that trust turns into money in a very concrete way for anyone selling on Hotmart, Kajabi, Teachable, Udemy, Thinkific or Podia:

- They finish the course — the biggest pain of any info-product is drop-off — finish and pacing keep the student to the end (and whoever finishes buys again and refers others).
- It cuts refunds — a professional first impression kills the buyer's remorse (and the refund request) in the first few days — exactly the guarantee window.
- It justifies the price — a well-finished product sustains a higher price — the student feels it's worth it, and you get out of the race-to-the-bottom $9 course.
- It drives referrals — a happy student brings a new one: the cheapest (and most trusted) sale there is.
Notice: none of this is about “looking cute” — it's about revenue. Fewer refunds, more people finishing, a higher price and referrals are the four levers that turn a course that sells now and then into a product that holds up.
3. The structure that holds the student
A good course is planned, not improvised. Before recording, build the script: the modules, the order of the lessons and what each one delivers. It's the script that prevents the rambling lesson — and the student who quits.
- Start with a short welcome video — right at the entrance of the course, a quick video explaining what the course is and what the person will be able to do by the end. This is the one place to “hook” (the ideas on holding the viewer apply here) — after that, straight to the lesson.
- Lessons get STRAIGHT to the point — no long intro or hook on every lesson — it wears people out. They already bought; they want to learn. Open with the content.
- Short, focused lessons — one topic per lesson, in short modules — it gives a sense of progress and is easier to watch on a phone.
- Clear chapters and titles — the student finds their place, revisits, and feels the course is organized.
4. The features that elevate the perception
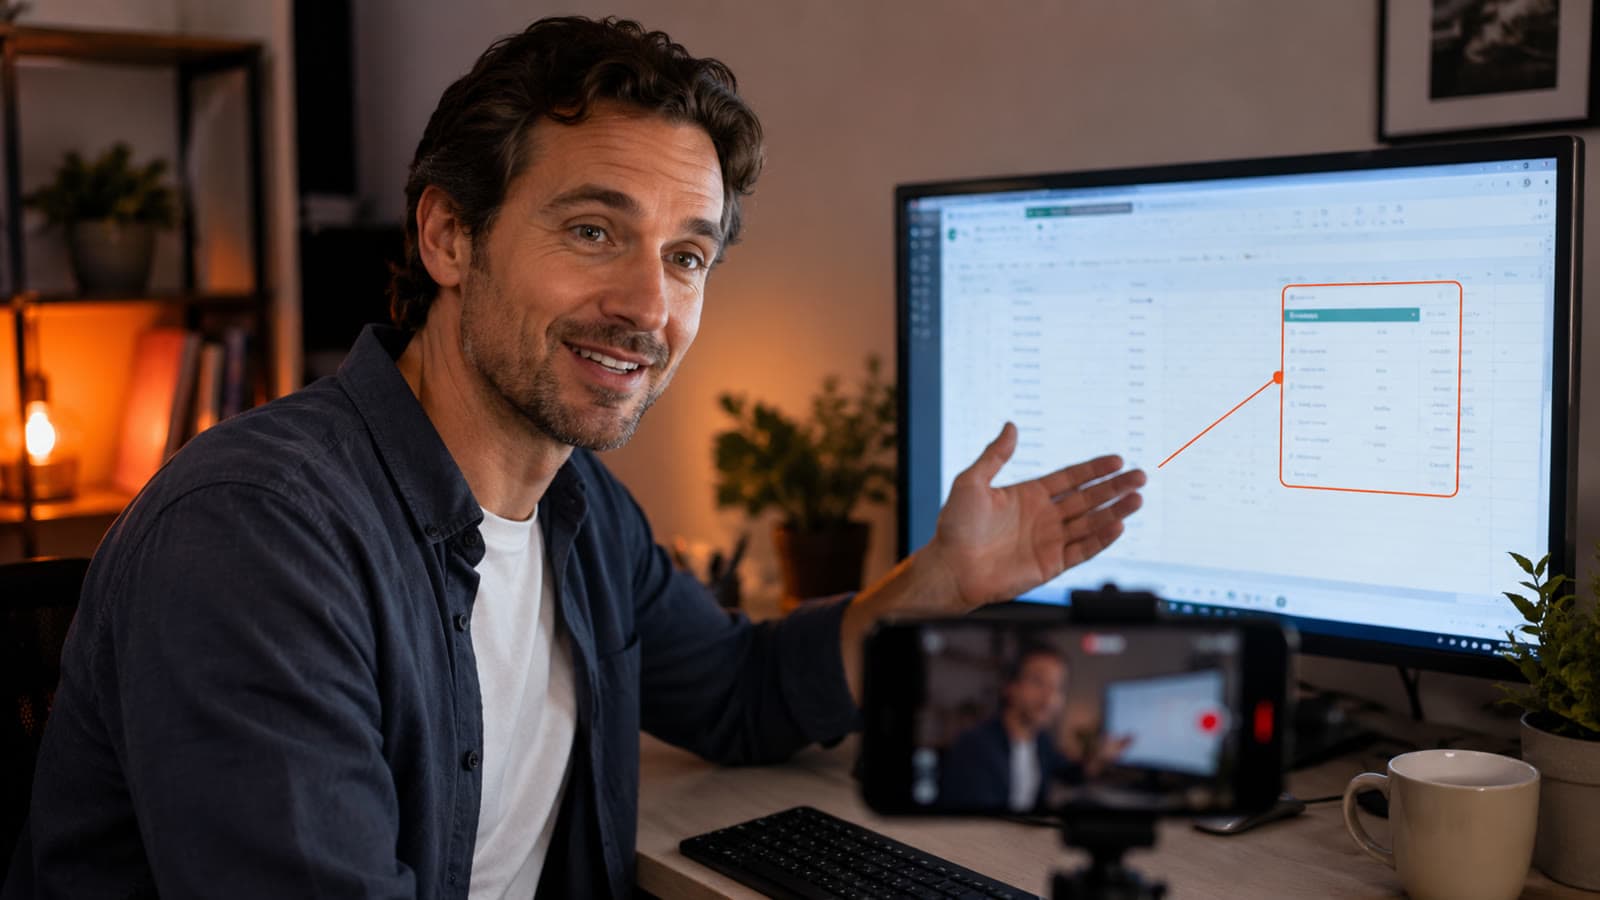
- Screens and demos — showing the screen/process beats describing it. Zoom and highlights guide the eye.
- On-screen text and highlights — they lock in the key concept and break the monotony of the talking head.
- Captions — plenty of people watch with the sound off (or aren't native speakers) — captions raise completion and reach.
- B-roll and illustrations — supporting shots (the setting, hands at work, an object) give the lesson room to breathe and a production feel, not a webcam feel.
5. The touches that make it feel like a product (and the ones that wear thin)
After the content, it's the finishing details that separate an amateur course from a premium product — as long as they're used with judgment (some wear thin if you overdo them):
- Ident: at the open to brand it, at the end to sign off — a short brand ident gives a product feel. But do NOT repeat the same ident at the start of 40 lessons — it wears thin. If you want it on every one, save it for the END: it “signs off” the lesson and tells the student it's really over.
- Lower third (name on screen) — the presenter's name and credential on screen — and the guests', when there are any — build authority right away.
- Music, used sparingly — background music on EVERY lesson wears thin. Use it with purpose (an open, a transition) — and remember: well-recorded, clean audio is worth more than any soundtrack.
- Downloadable resources — a PDF, spreadsheet or checklist per module makes the course feel “complete,” reinforces the learning and helps cut refunds.
- Let the student breathe — a course isn't Reels: after a key point, leave a beat for the person to absorb it. Cutting EVERYTHING tramples the learning.
- Visual consistency — same font, same palette, same intro and sign-off across every lesson — a simple template gives a product's sense of unity.
6. Record with editing in mind (no studio)
You don't need expensive gear. A few habits while recording save hours of editing and lift the result:
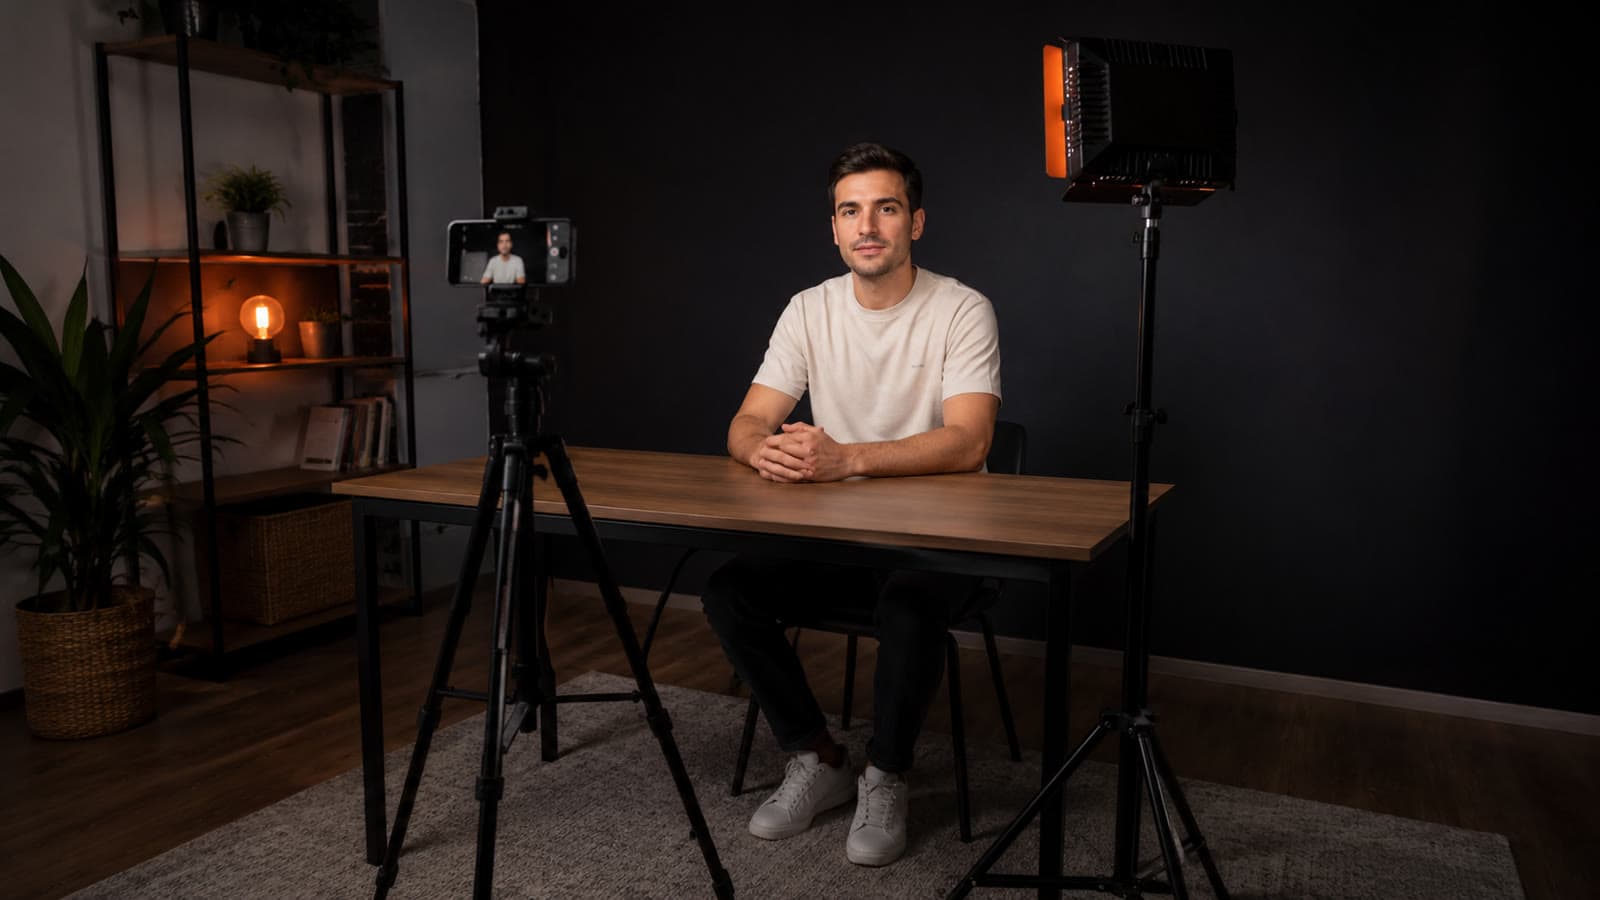
- Soft, front light — the cheapest upgrade that changes the perception most — light your face and tidy the background.
- Audio close to your mouth — sound is what gives a course away (or saves it) most — mic close, away from noise.
- A sharp picture — if you record on your PC screen, a decent webcam delivers far more than the built-in laptop one.
- Don't memorize — use a teleprompter — to look at the camera without freezing or memorizing everything, a teleprompter (even a phone one works) changes the game.
- Marked pauses — fumbled it? Stop, count to three and restart the sentence — it's easy to cut clean afterward.
To dig into each front: build your recording kit, take care of the audio (and which microphone), the lighting, the framing and the color. Done recording? send the footage off to be edited without the headache.
7. Recording the screen: the right program (and ALWAYS the audio)
A good share of courses is “screen + voice”: you show the screen and explain as you go. You don't need an expensive program — you need to record it the right way. And there's one rule that's worth its weight in gold:
| Program | System | Price | Good for |
|---|---|---|---|
| Snipping Tool / Game Bar | Windows | free (built in) | the simplest way — already records your voice + the PC's sound |
| QuickTime / Cmd+Shift+5 | Mac | free (built in) | screen + your voice; for the Mac's OWN sound, install BlackHole (free) |
| OBS Studio | Mac/Win | free (open-source) | powerful, no watermark or limit — screen + webcam + audio |
| Loom | Mac/Win/web | free / ~$15/mo | a quick lesson with an instant link + your camera in the corner |
| Camtasia | Mac/Win | ~$180+/yr | records AND edits in one place, with automatic zoom — the standard for courses |
| ScreenFlow | Mac | $199 (one-time) | a full editor with a one-time purchase (Mac only) |
| Screen Studio | Mac | ~$9-20/mo | gorgeous automatic zoom, less editing work (Mac only) |
Prices ~June 2026 (check at purchase). On Mac, the built-in recorders do NOT capture the computer's own sound without BlackHole — only your voice through the mic.
8. HEY JOE has edited a course on just about everything
This is our wheelhouse. We've edited more than 40 courses on the most different subjects — music, medicine, accounting, cooking, makeup, DJing, software, public speaking, coaching, fashion, architecture, lifestyle and even knitting and crochet. Each niche has its own rhythm and language, and we've got the knack for turning a raw lesson into a premium product in any of them.
Whatever your topic: if it can be taught on video, we edit it to look like Netflix. You record and handle the content (the part only you know); the finish that makes the student trust you, finish and recommend is on us.
9. Sold the course? Here comes the boring part (but it matters)
A course selling on Hotmart, Kajabi, Teachable or Udemy is income — and income gets taxed. Before it turns into a headache (or a nasty surprise at tax time), learn when it's worth having an accountant and how to organize the bookkeeping for someone who lives off info-products in the guide on a accountant for content creators.
10. And to sell and promote the course?
A premium course still needs to be sold and promoted. The sales page calls for a sales video (VSL) that shows the transformation and convinces — exactly the persuasion structure that turns a visitor into a student. And the course content itself becomes marketing fuel when you repurpose one recording into many pieces — clips for Instagram, Shorts and LinkedIn that pull people into the funnel without you recording anything extra.
Quick questions
Do I need a studio for my course to look professional?
No. Soft front light, audio close to your mouth and good editing already lift your course to another level. The finish that makes a student trust you comes from the editing, not from an expensive studio.
Is it worth investing in editing the course?
It is, and it hits the bottom line directly: it cuts refunds, raises completion (the biggest pain of any info-product is drop-off) and justifies a higher price. And a happy student recommends you — the cheapest sale there is.
Does HEY JOE edit courses in my niche?
Almost certainly. We've edited courses on music, medicine, accounting, cooking, makeup, DJing, software, public speaking, coaching, fashion, architecture, lifestyle and even knitting and crochet. If it can be taught on video, we edit it to look like a premium product.
What program do I use to record my screen?
On Windows, the Snipping Tool or the Game Bar (they already record your voice and your PC's sound). On Mac, QuickTime records the screen and your voice — but to capture the computer's own sound, install BlackHole (free). To record AND edit in one place, Camtasia is the standard. The key thing: ALWAYS record the audio of your explanation along with it.
How do I send my recorded lessons to be edited?
Upload the footage to a cloud drive (Google Drive, OneDrive, Dropbox) and send the link — don't attach anything by email. Organize one folder per lesson/module. See the step-by-step in the guide on how to send large videos.
Course editing is one of HEY JOE's specialties — more than 40 courses edited for creators who sell on platforms like Hotmart, Kajabi and Teachable.