Production & filming
Lighting for video: the 3 lights, the sun and color temperature
An expensive camera won't save bad light — and a simple phone with good light looks professional. Lighting is the highest-return adjustment in video, and the good news is that it's technique: it can be learned. One soft, well-placed light already changes everything.
~9 min read
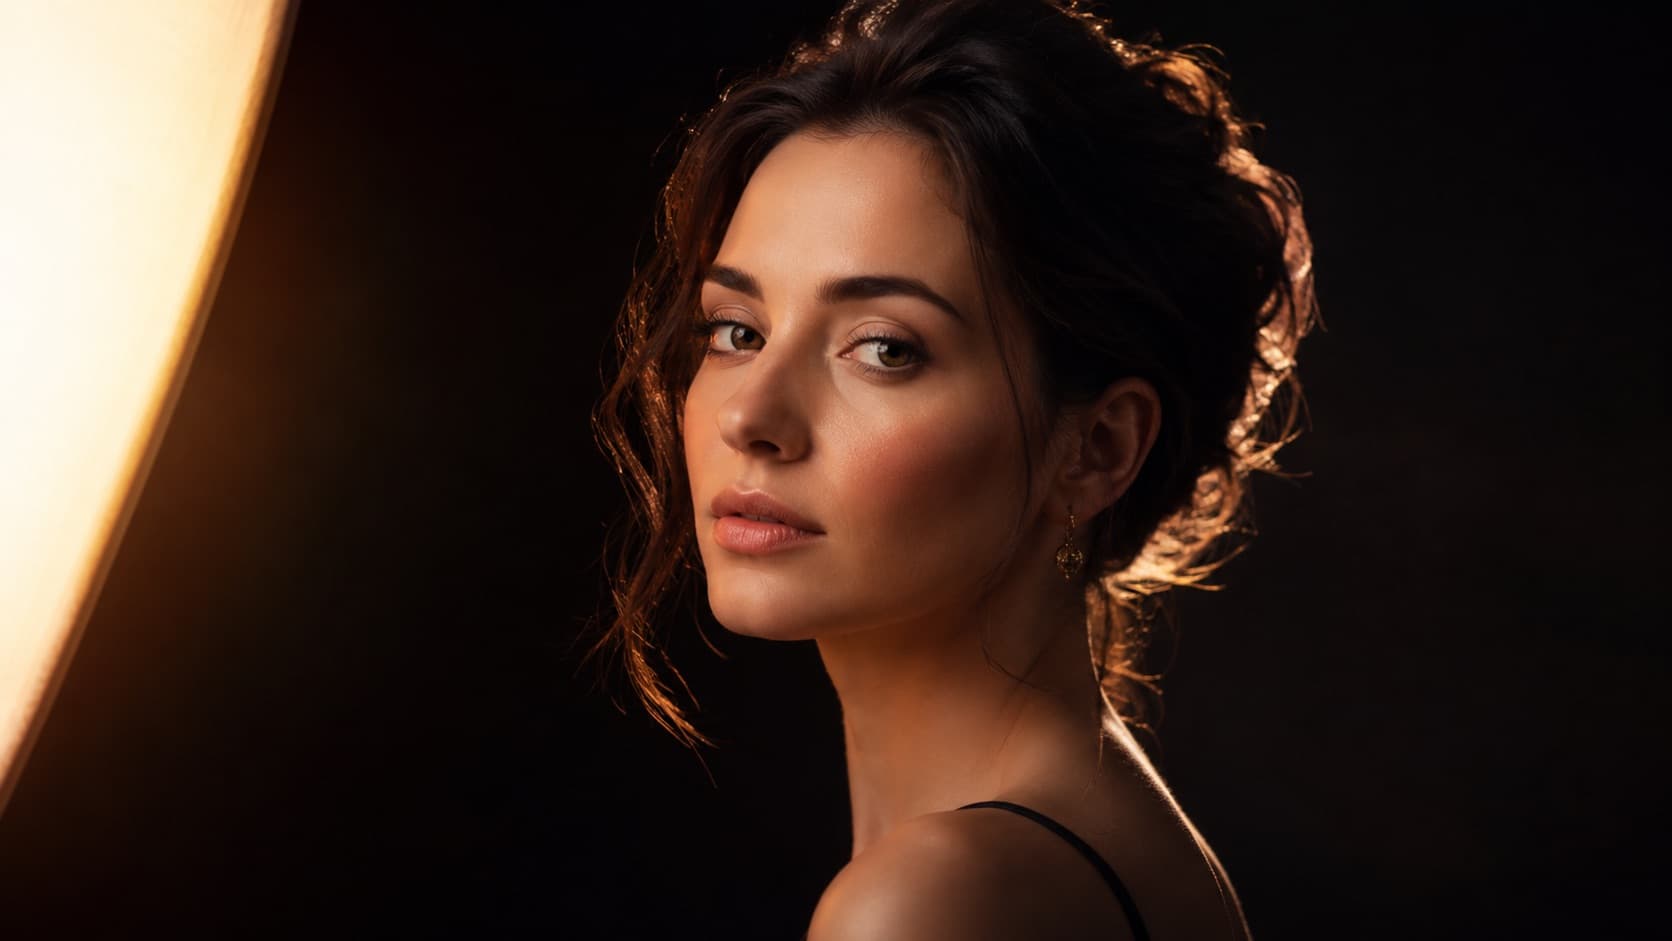
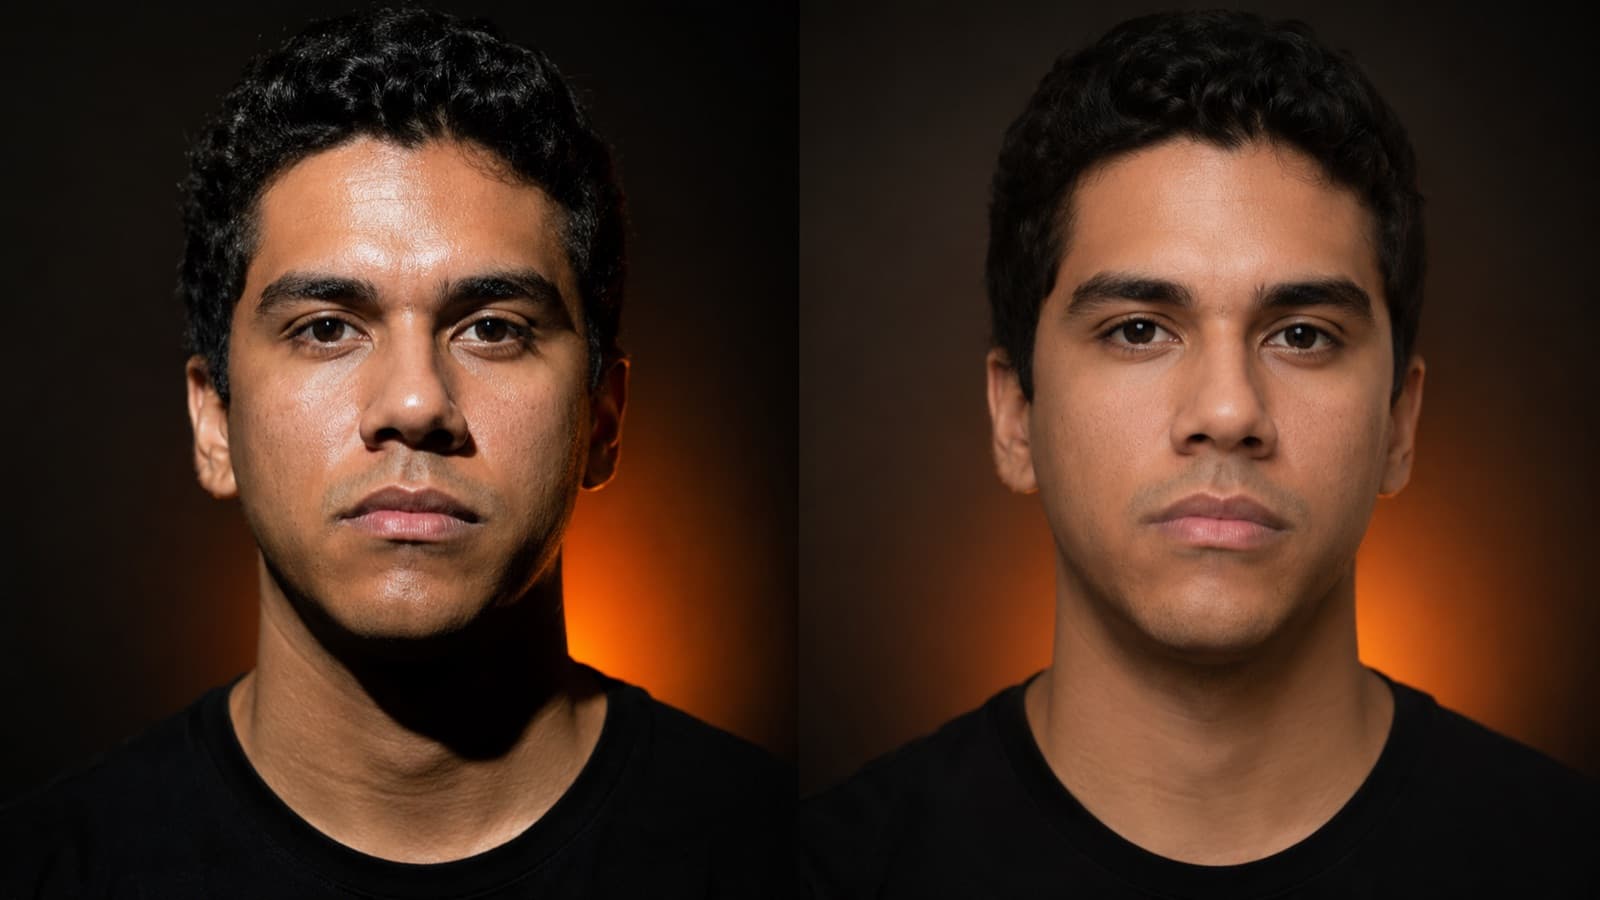
There's a line that sums it all up: photography is light and shadow. It's not the camera that makes the image beautiful — it's the light, and above all the shadow it creates: shadow is what gives the face shape, volume and mood. That's why it pays to really study light — it's the highest-return technique in video and the one that most separates the amateur from the professional. The good news: it's technique, and it can be learned.
1. The three lights (the foundation of everything)
Classic video lighting uses three lights with different roles. You don't always need all three — but understanding each one is what unlocks the professional look:
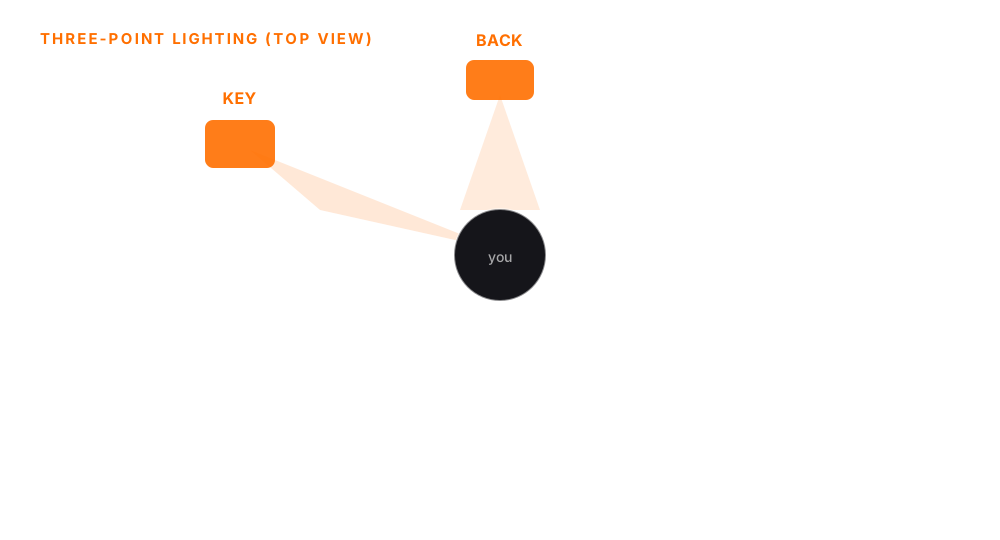
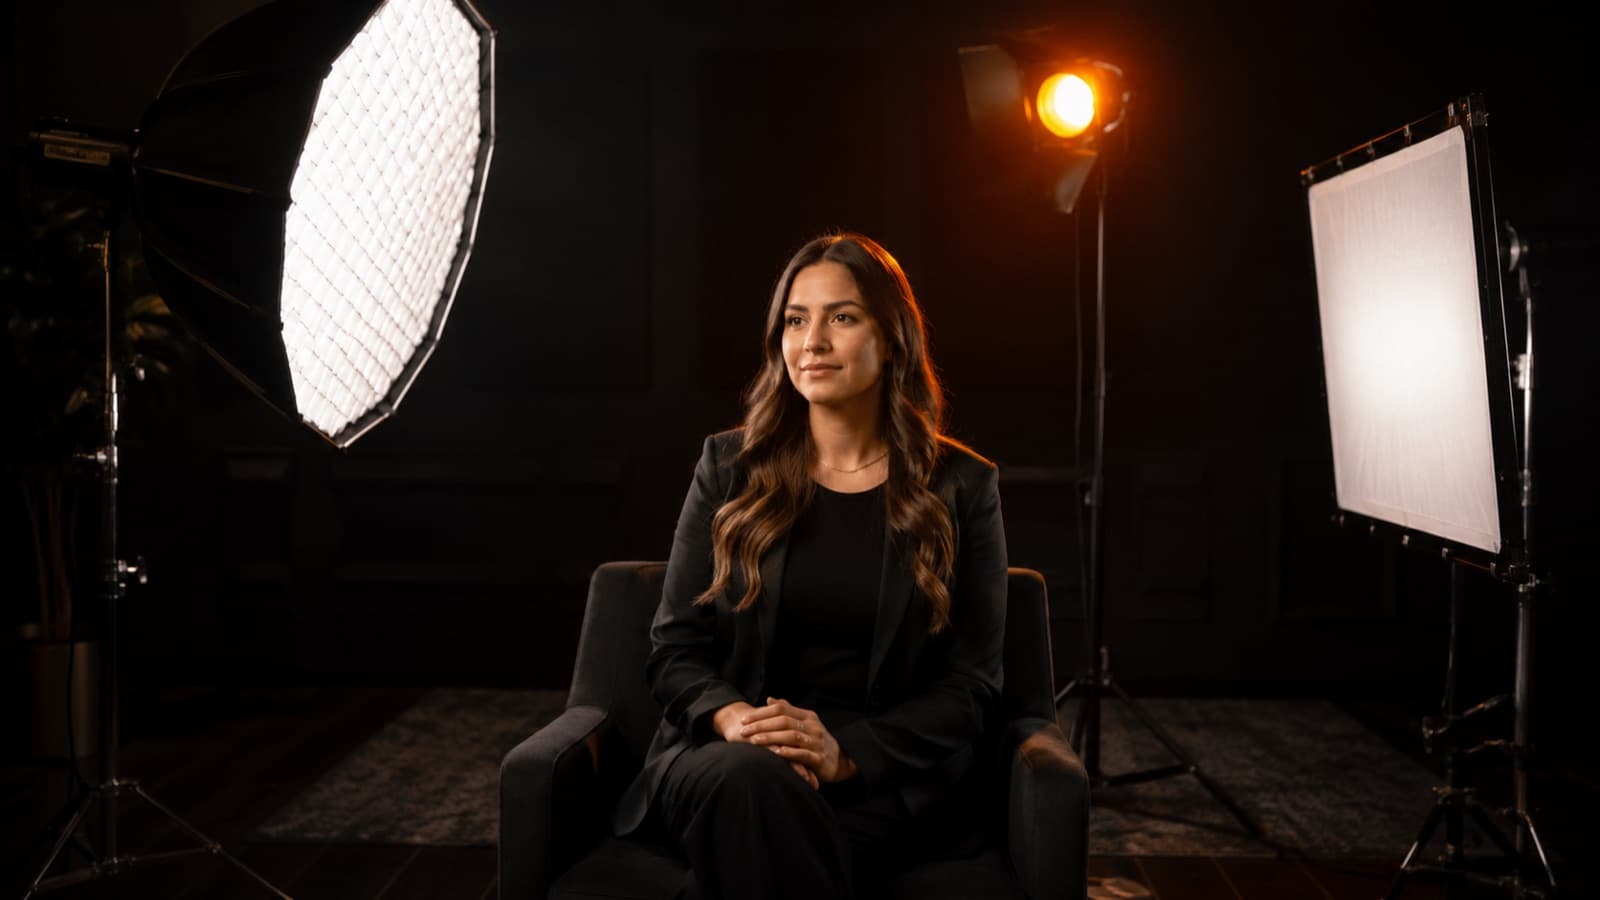
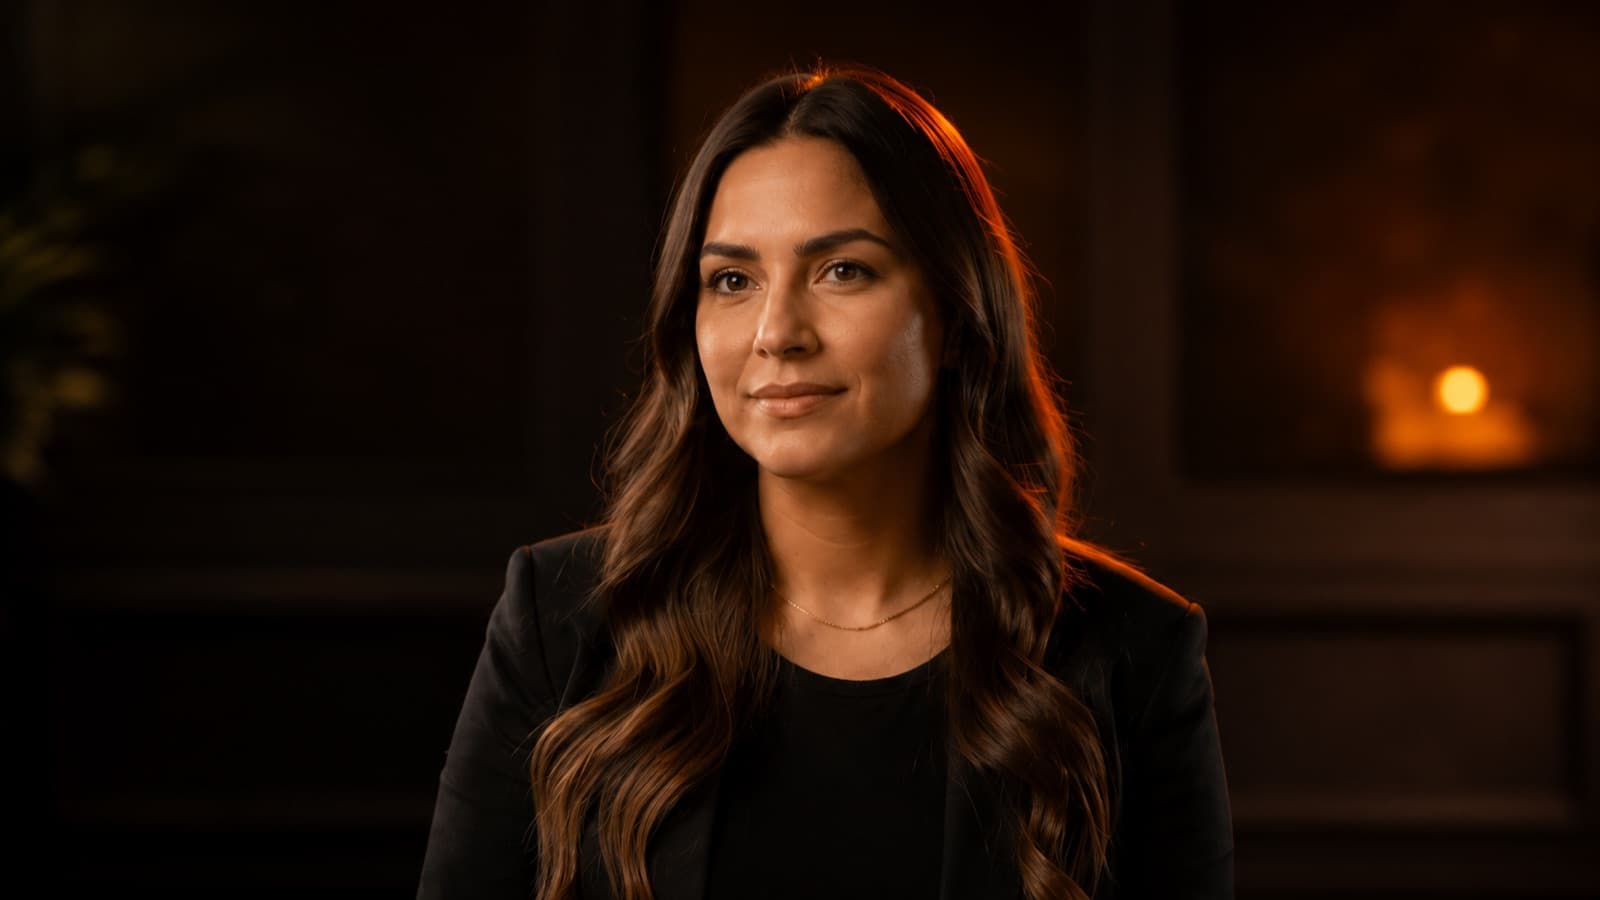
- Key (main) — the strongest light, which sets the exposure and the shadow direction. It sits at ~45° to the face and a bit above the eyes.
- Fill — a softer light on the opposite side, just to lift the shadow the key creates. Weaker = dramatic look; stronger = bright, friendly look.
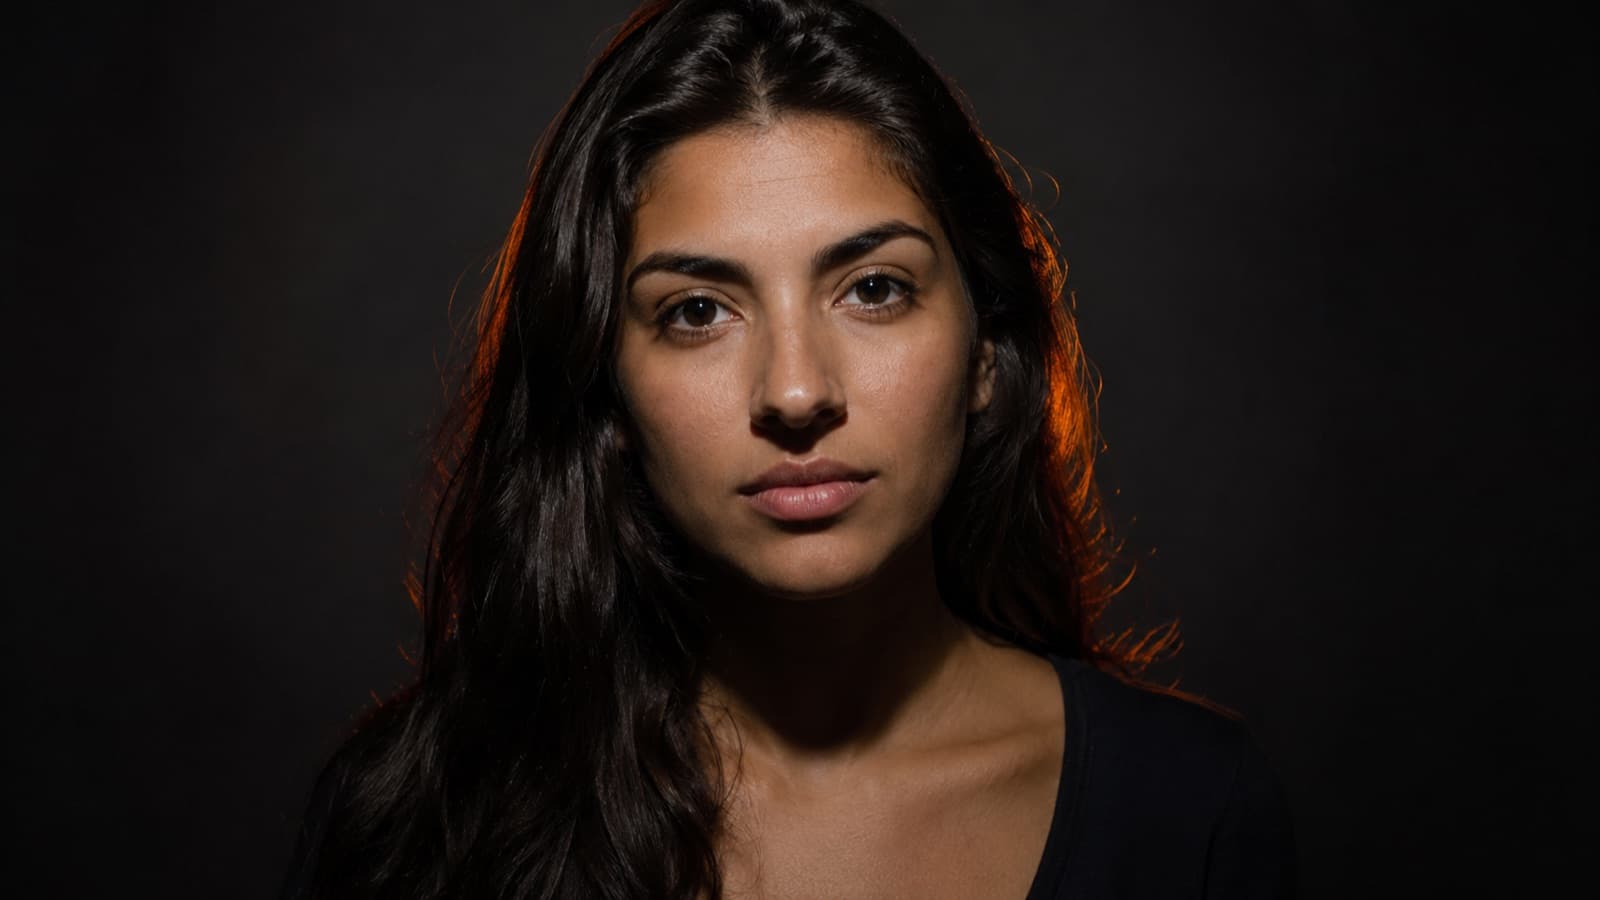
- Back (backlight) — behind you, aimed at shoulders/head. It creates a rim of light that separates you from the background — the light every beginner forgets and the one that most gives the “pro look.”
- Hair & background — optional upgrades: a light just on the hair (shine/separation) and another on the background (controls how bright/colorful it gets).
That backlight — the rim light (rim/hair light) — is the one that most delivers the “pro look,” because it's pure separation: without it, dark hair and shoulders vanish into the background; with it, a rim of light traces the person and the image gains 3D. Turn it down low and bring it up only until the edge appears — too strong and the rim turns into a sticker outline.
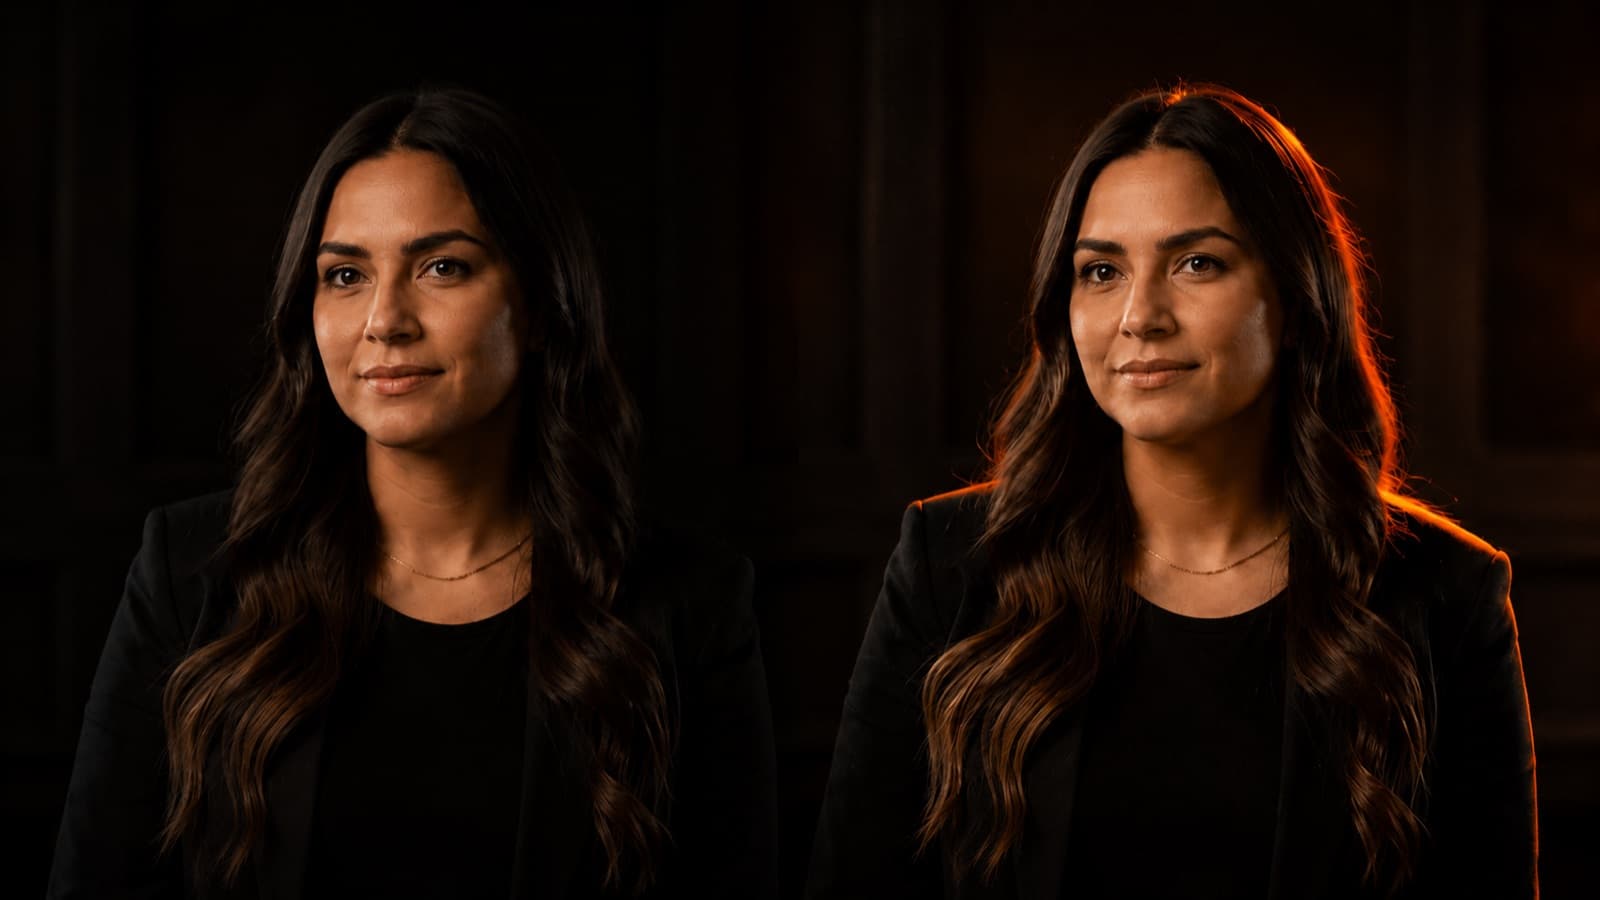
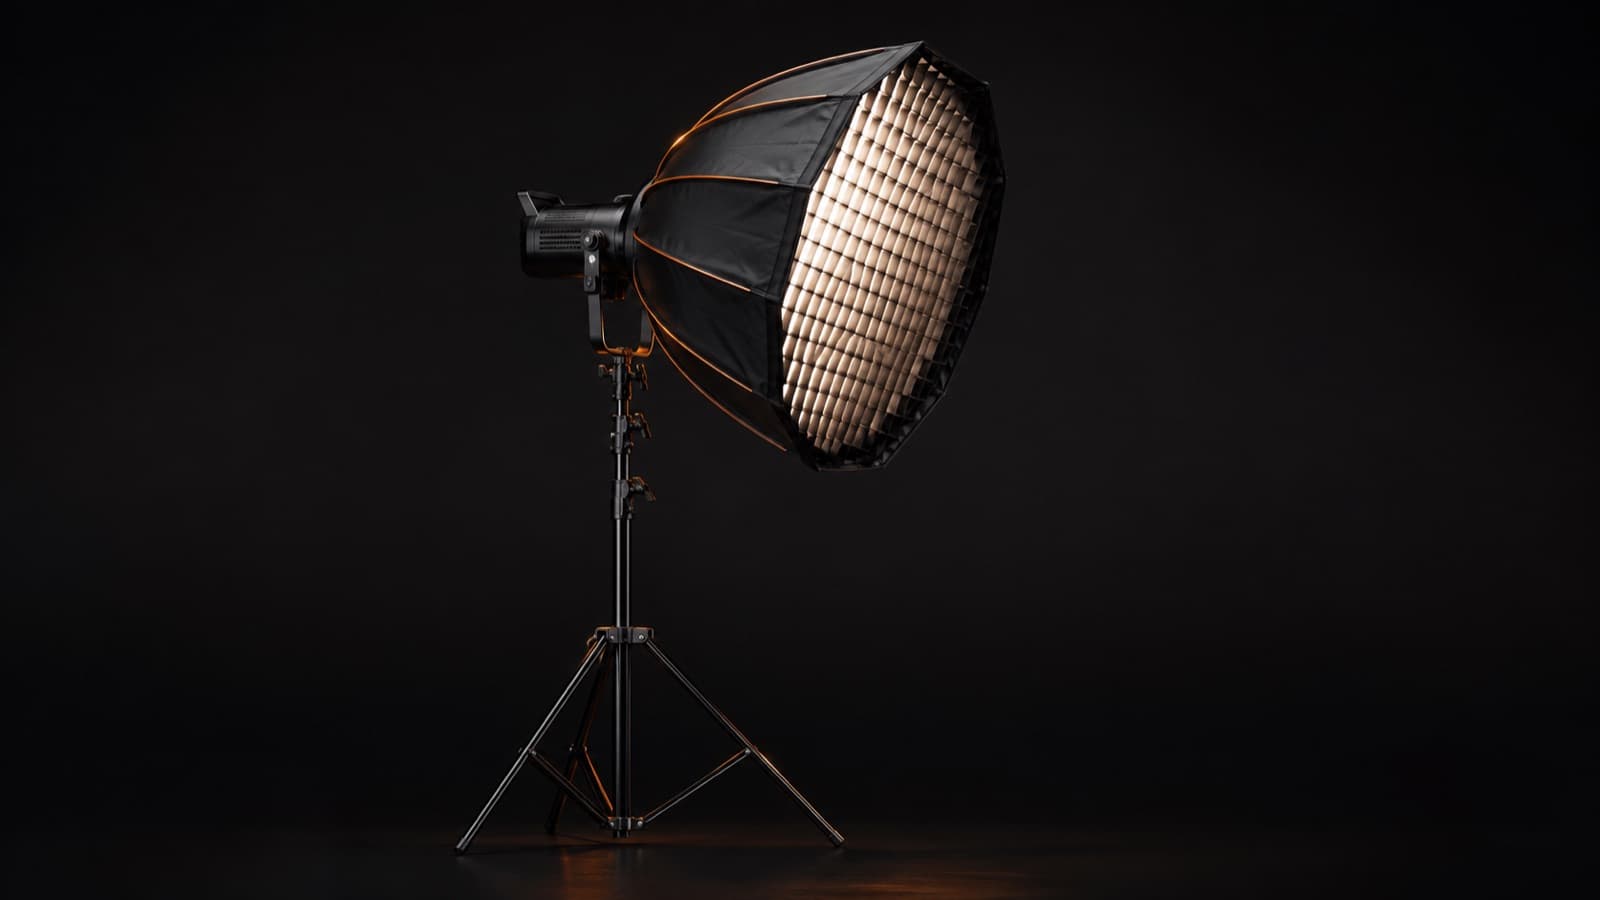
The tip that's worth all the others: large, soft light is more beautiful than small, hard light. That's why a softbox or diffusion in front of the light does more for your image than buying more bulbs.
2. Use sunlight in your favor
Natural light is free and beautiful — as long as it's controlled. The goal is soft, directional light, not raw sun:
- Golden hour — the hour after sunrise and before sunset: low, warm, soft light, perfect for faces.
- Window light — a large window is a giant softbox. Stand to the side (~45°) of it. Avoid the direct beam of sun — look for the indirect light.
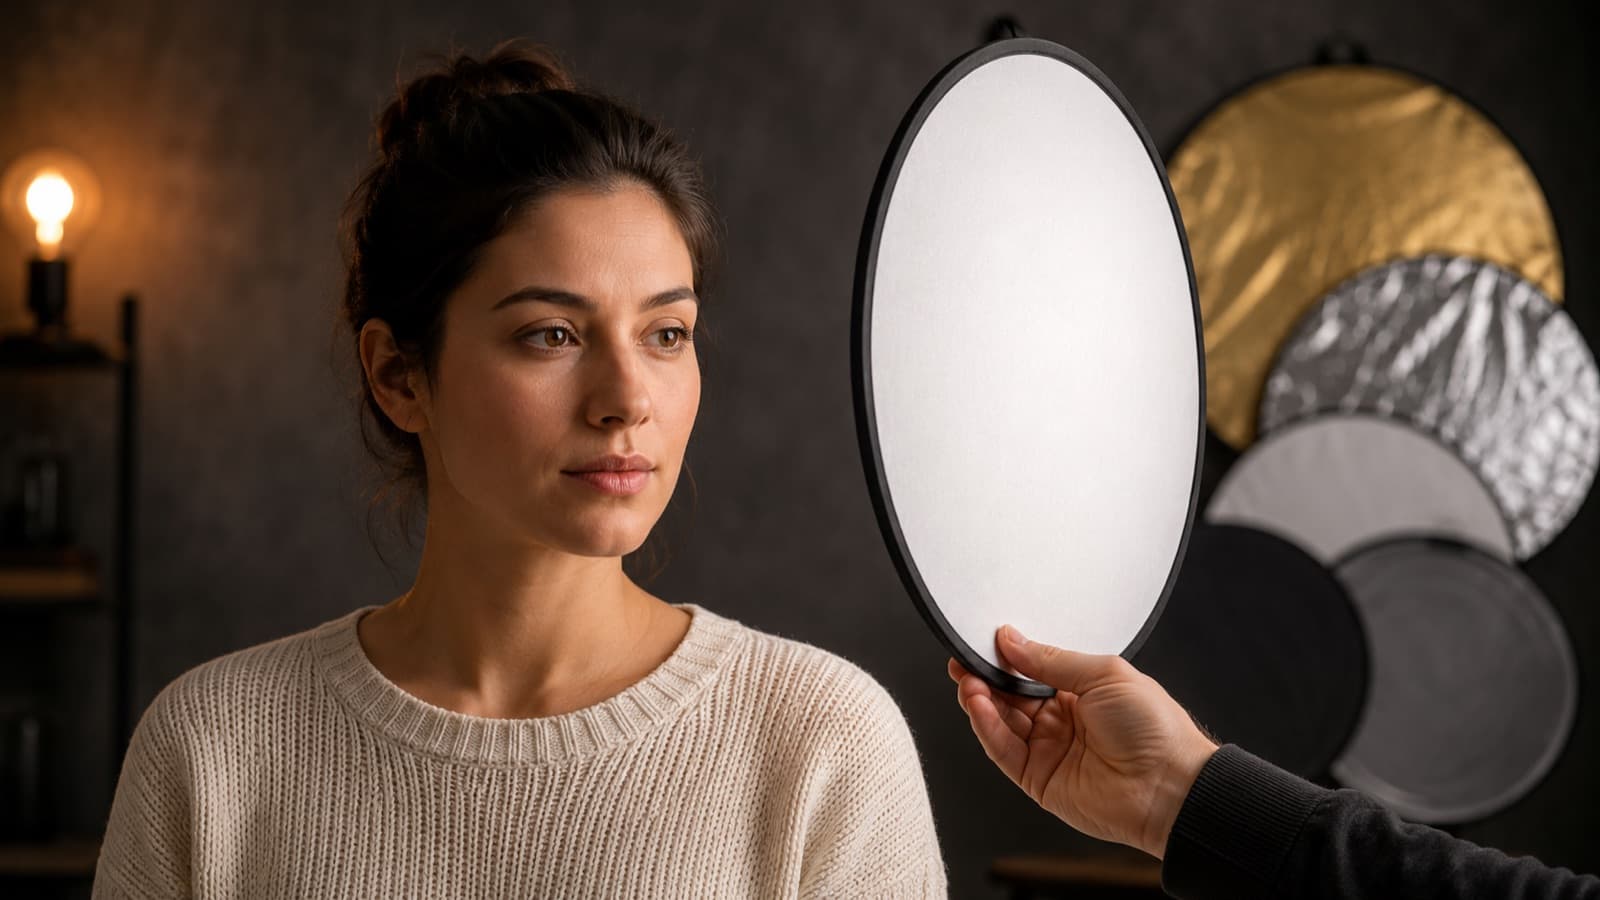
- Diffusion — a white fabric (curtain, diffuser) between the sun and you turns hard light into soft — it grows the “size” of the light.
- Reflector — a white surface on the opposite side of the sun bounces light back into the shadow on the face. White = neutral, silver = stronger, gold = warm (use sparingly).
- Avoid overhead sun — high sun carves hard shadows under the eyes and nose (“raccoon eyes”) and blows out the forehead. If it's midday, move to open shade (under a tree/awning) — soft, even light.
3. Color temperature: the Kelvin secret
Every light has a “color”: warmer (orange) or cooler (blue). This is measured in Kelvin (K) — and the counterintuitive part is that the lower the number, the warmer it is:
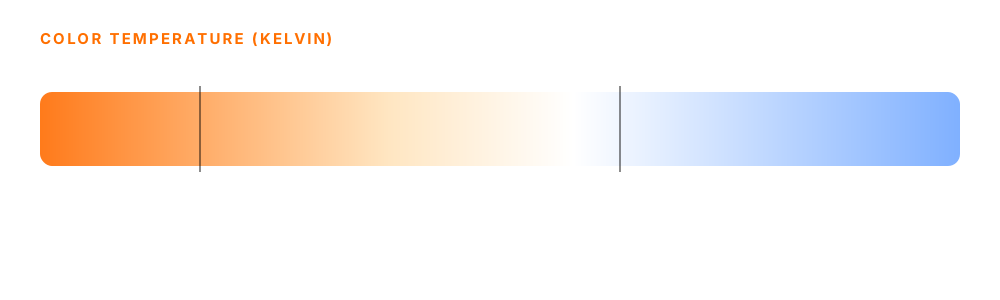
The camera has white balance to tell it “what's white” in the current light. Your eye adapts on its own to warm or cool light; the camera doesn't — you set the balance to match the dominant light. Leaving it on auto tends to “drift” when the light changes; locking the balance (manual, at your light's value) keeps the color constant from take to take.
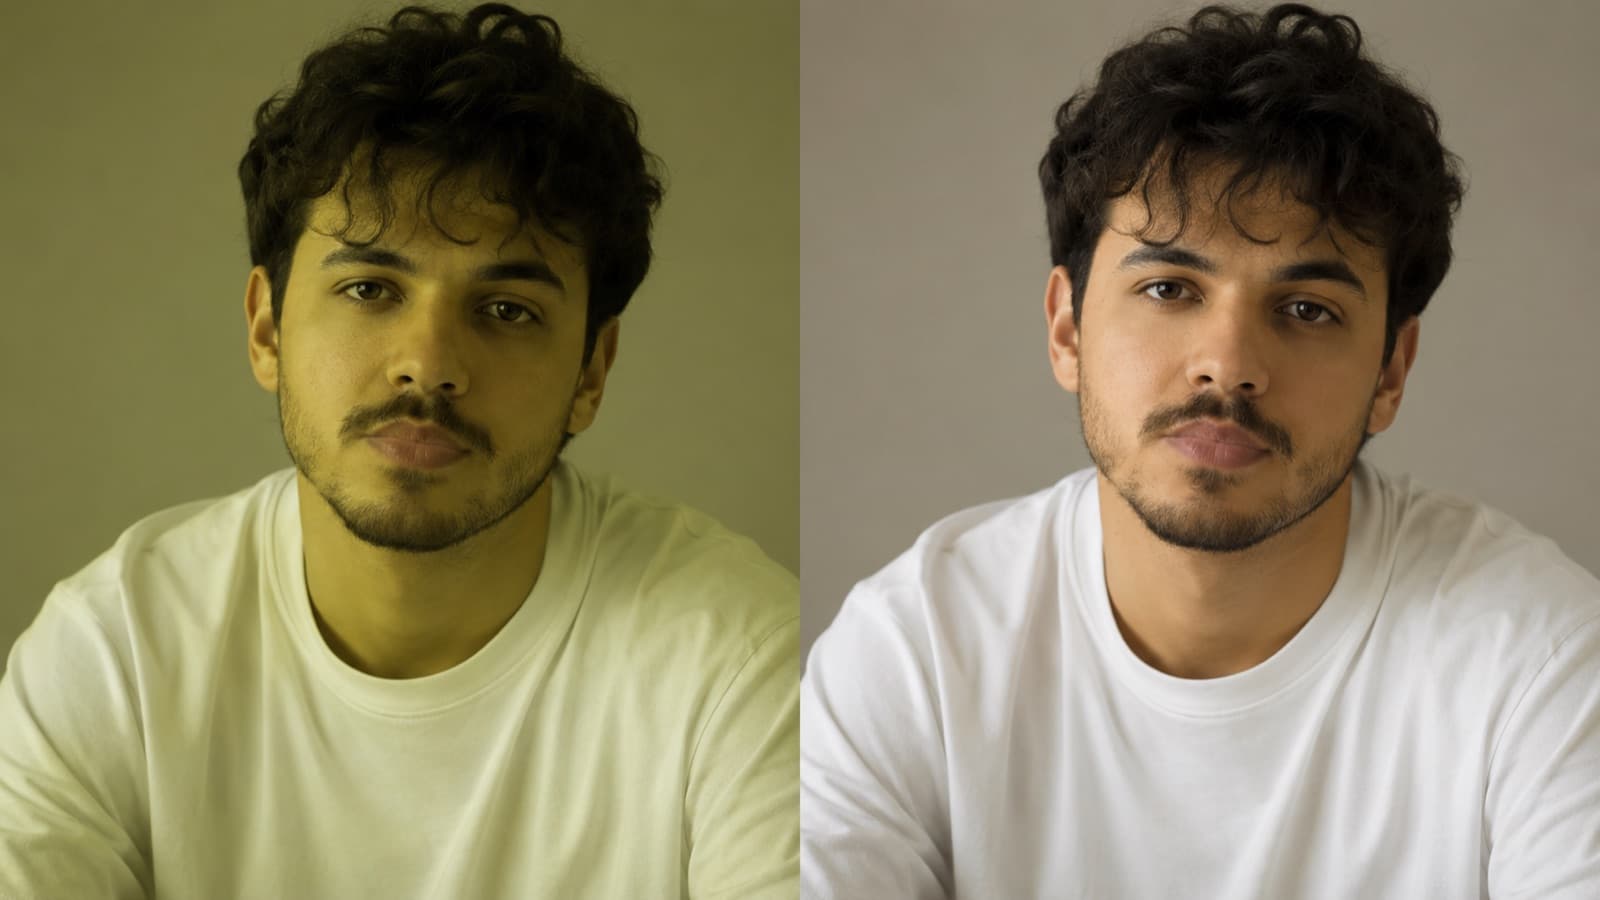
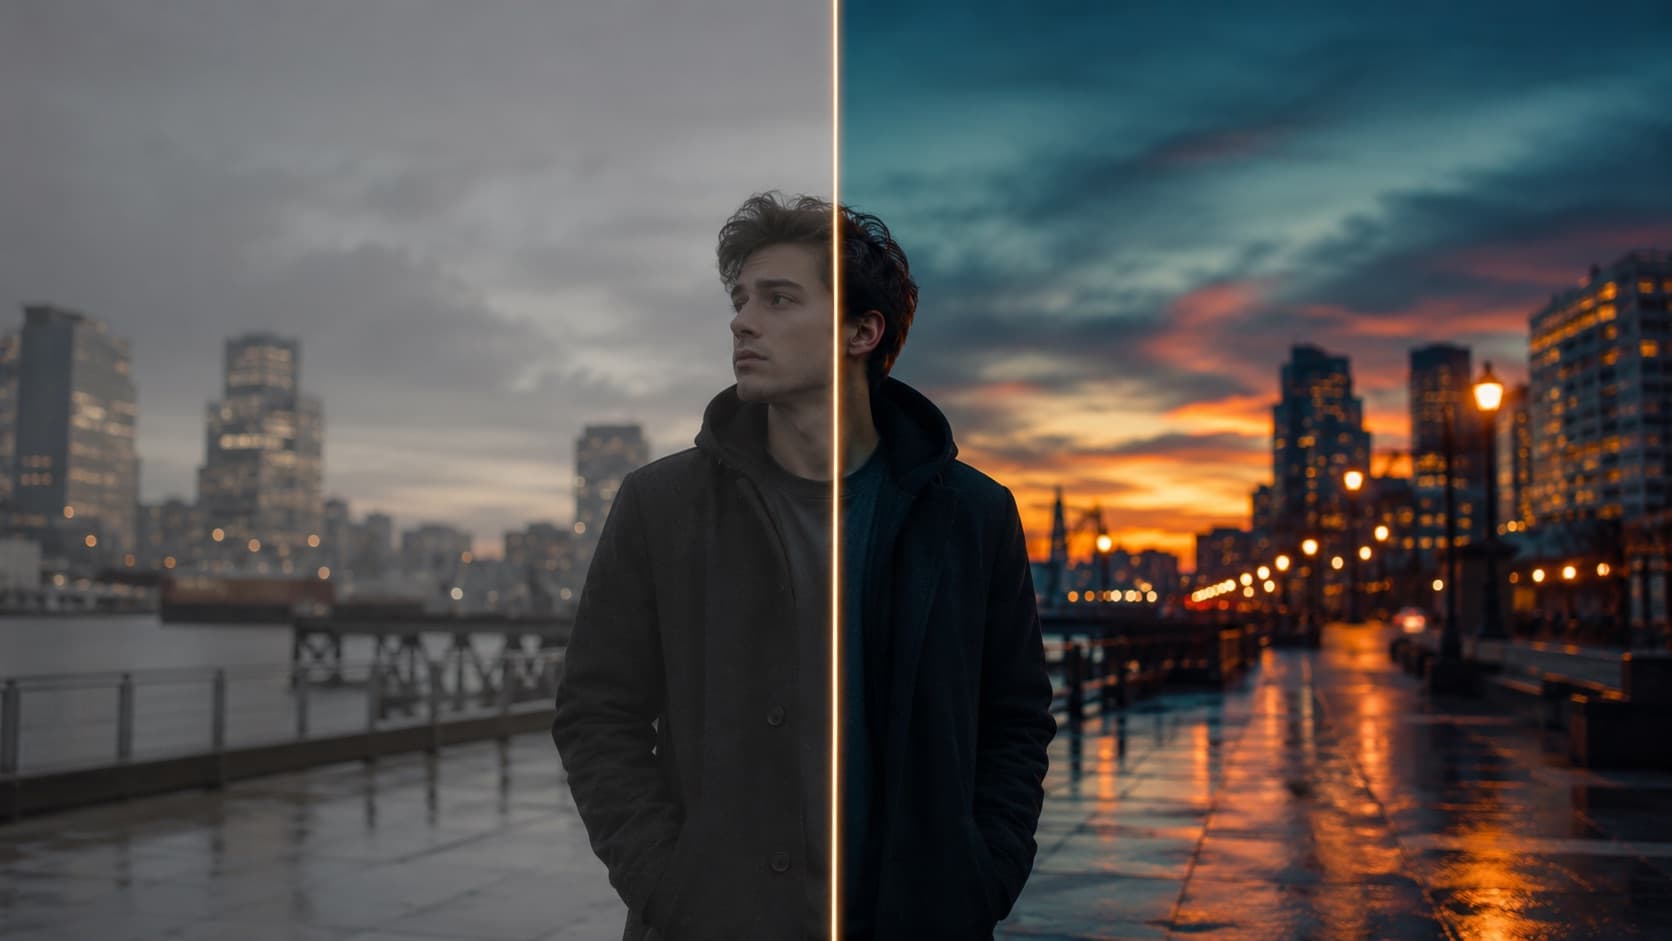
And beyond “matching right,” temperature is a creative choice: warmer light (~3200K) conveys coziness, intimacy, late afternoon; cooler light (~5600K+) conveys a clean, modern, almost “clinical” feel. Choose on purpose — and keep it consistent within the same scene.
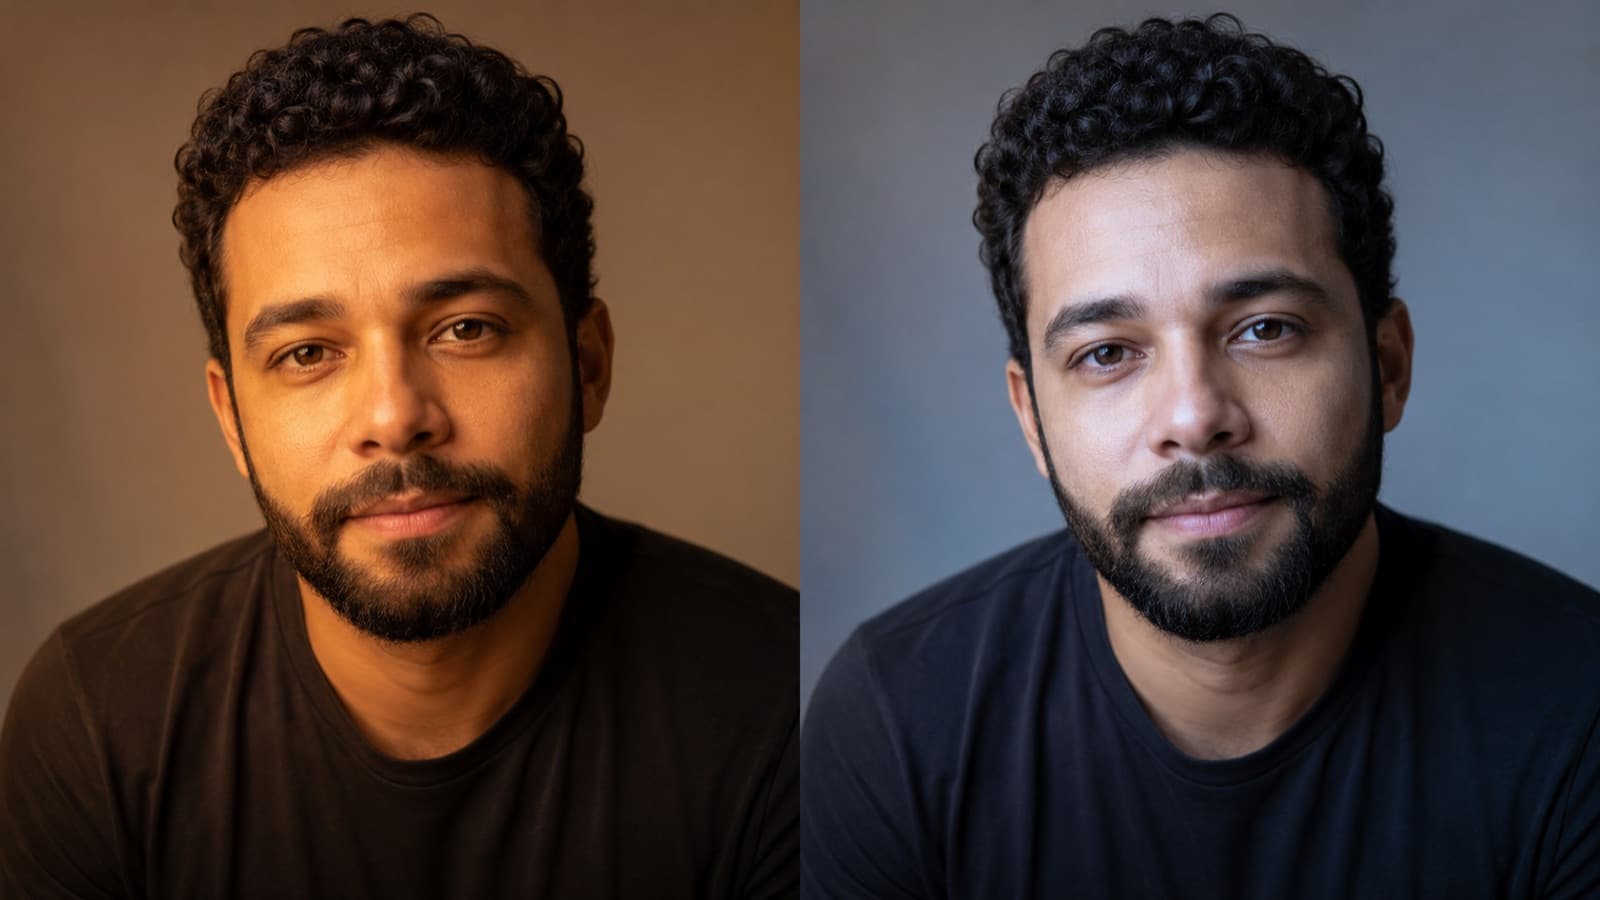
When you buy, check the CRI (color rendering index): aim for CRI 95+. Cheap light with low CRI makes skin look “sickly” even with the right balance.
4. Practical setups to start with
- 1 light (the cheapest pro) — one soft light (softbox or panel with diffusion) at 30-45° and a bit above the eyes. Let the room light do the fill on the other side.
- 2 lights (upgrade) — add the back light behind first — it's the one that gives the biggest visual jump. Then, if you want, a fill on the shadow side.
- Window DIY (free) — face a large window (key) + a white foam board on the other side (fill). A black foam board on one side “closes” the shadow and gives shape.
5. Gear: what to buy (by tier)
Brands and models worth the money — all sold worldwide (Amazon, B&H, photo/video stores). Prices are approximate (they shift with exchange rate, sales and country) and range from entry to professional; check in your own currency at purchase time:
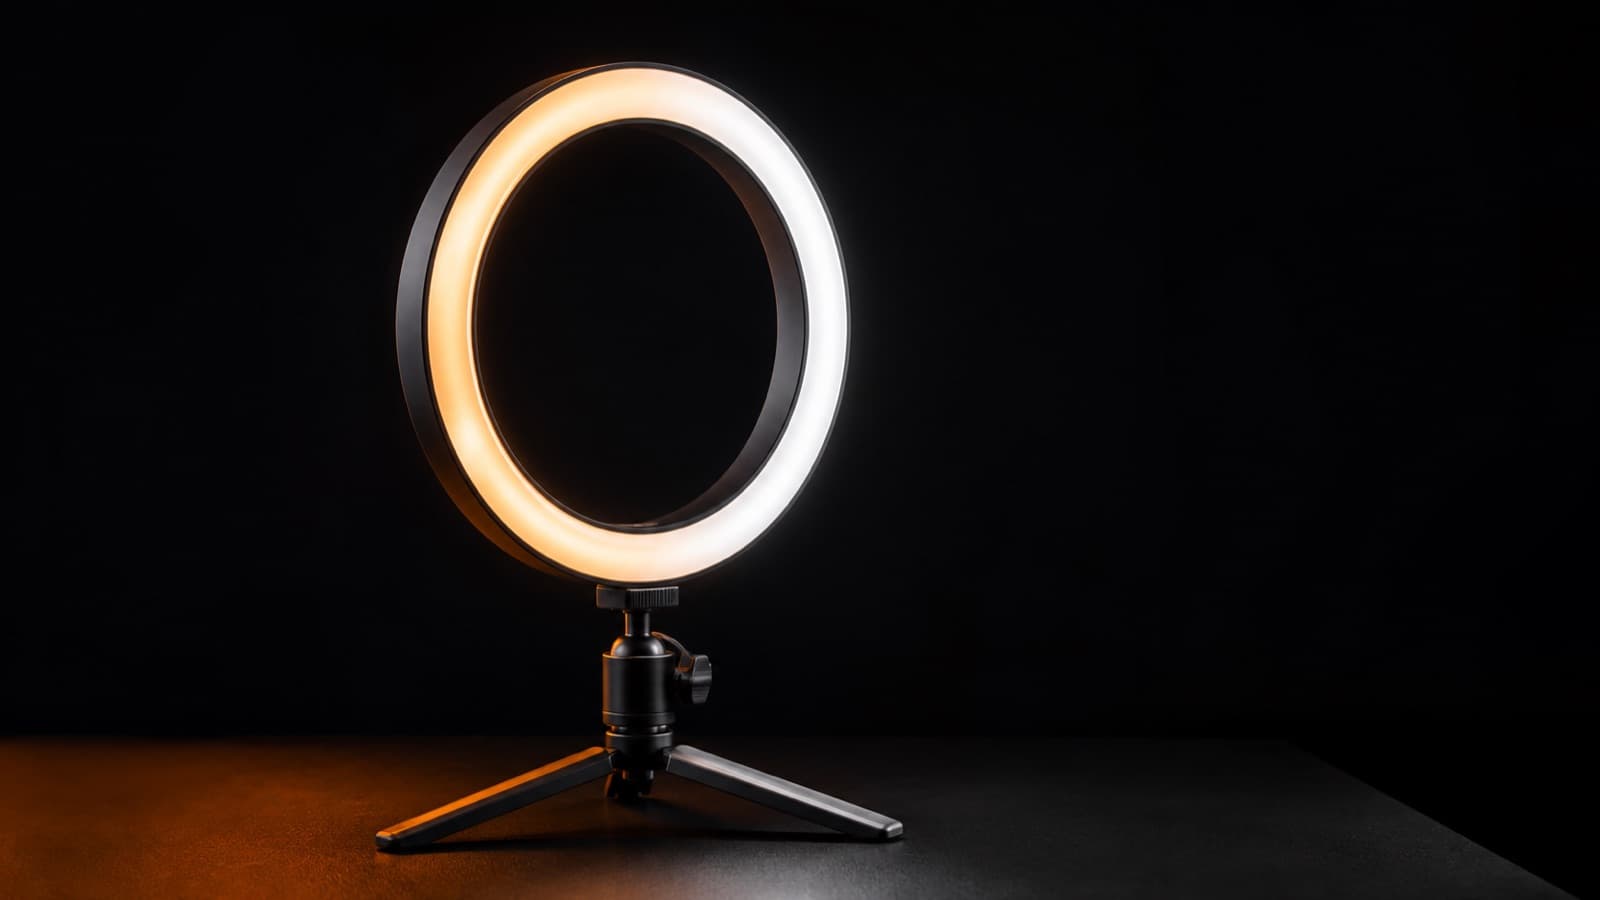
- Entry — Bi-color ring light — Neewer or generic ~46cm (3000-6500K), ~US$30-60. The cheapest tier. A quick “glow” for talking-head; bi-color to match the room.
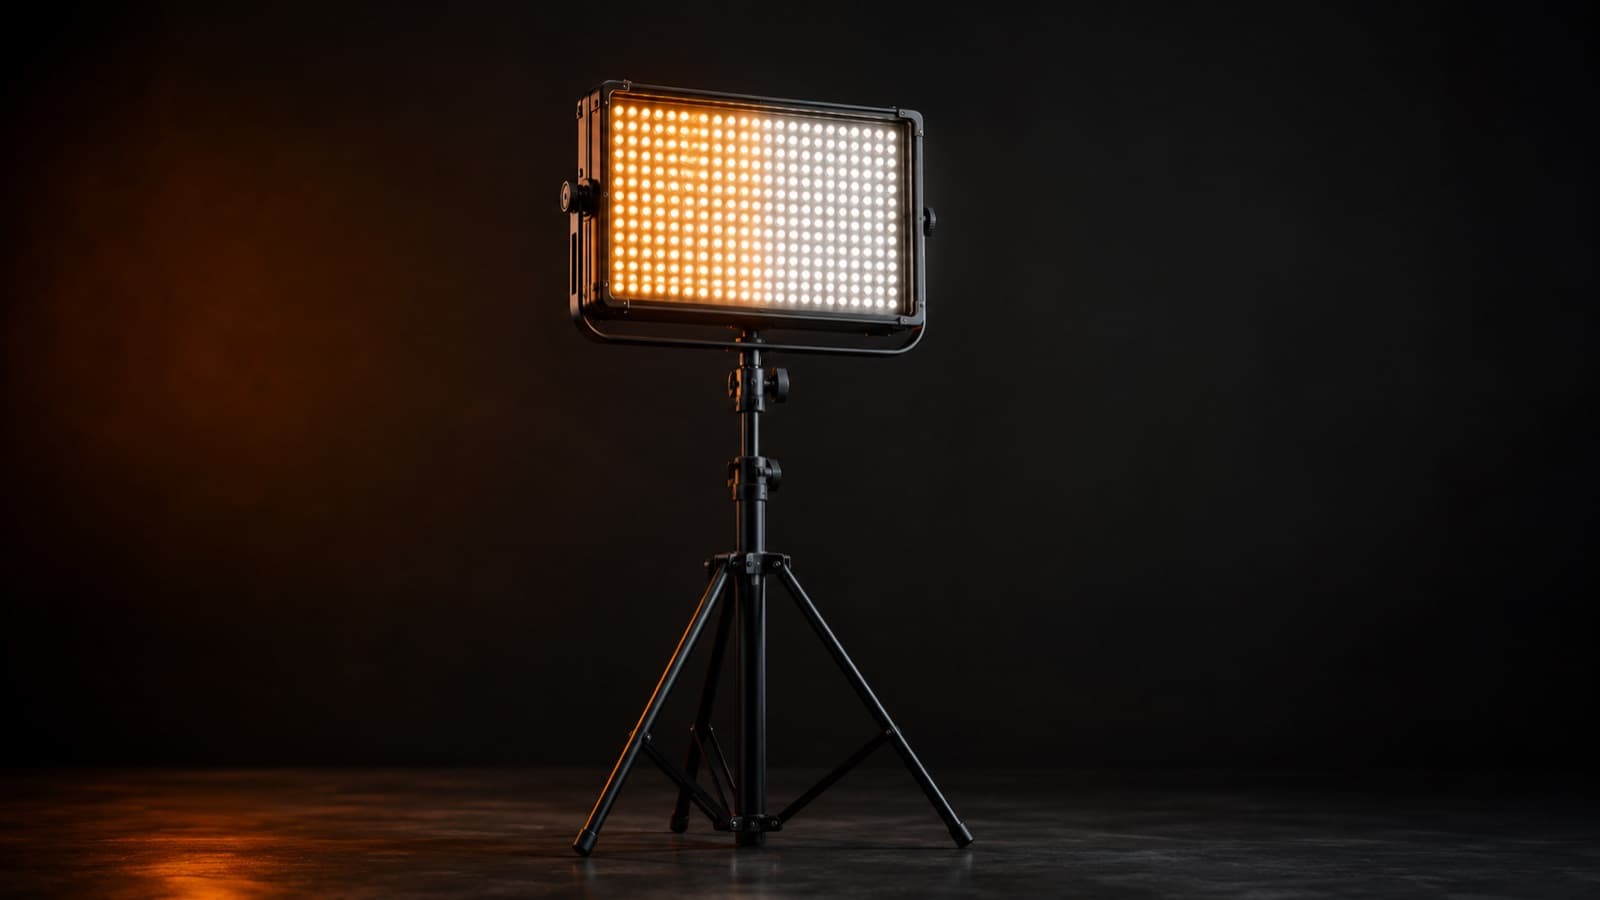
- Entry — LED panel — Neewer 660 PRO RGB (CRI 97+, bi-color), ~US$90-120 per unit. Still entry-level and a great key/fill workhorse; the RGB helps match the window.
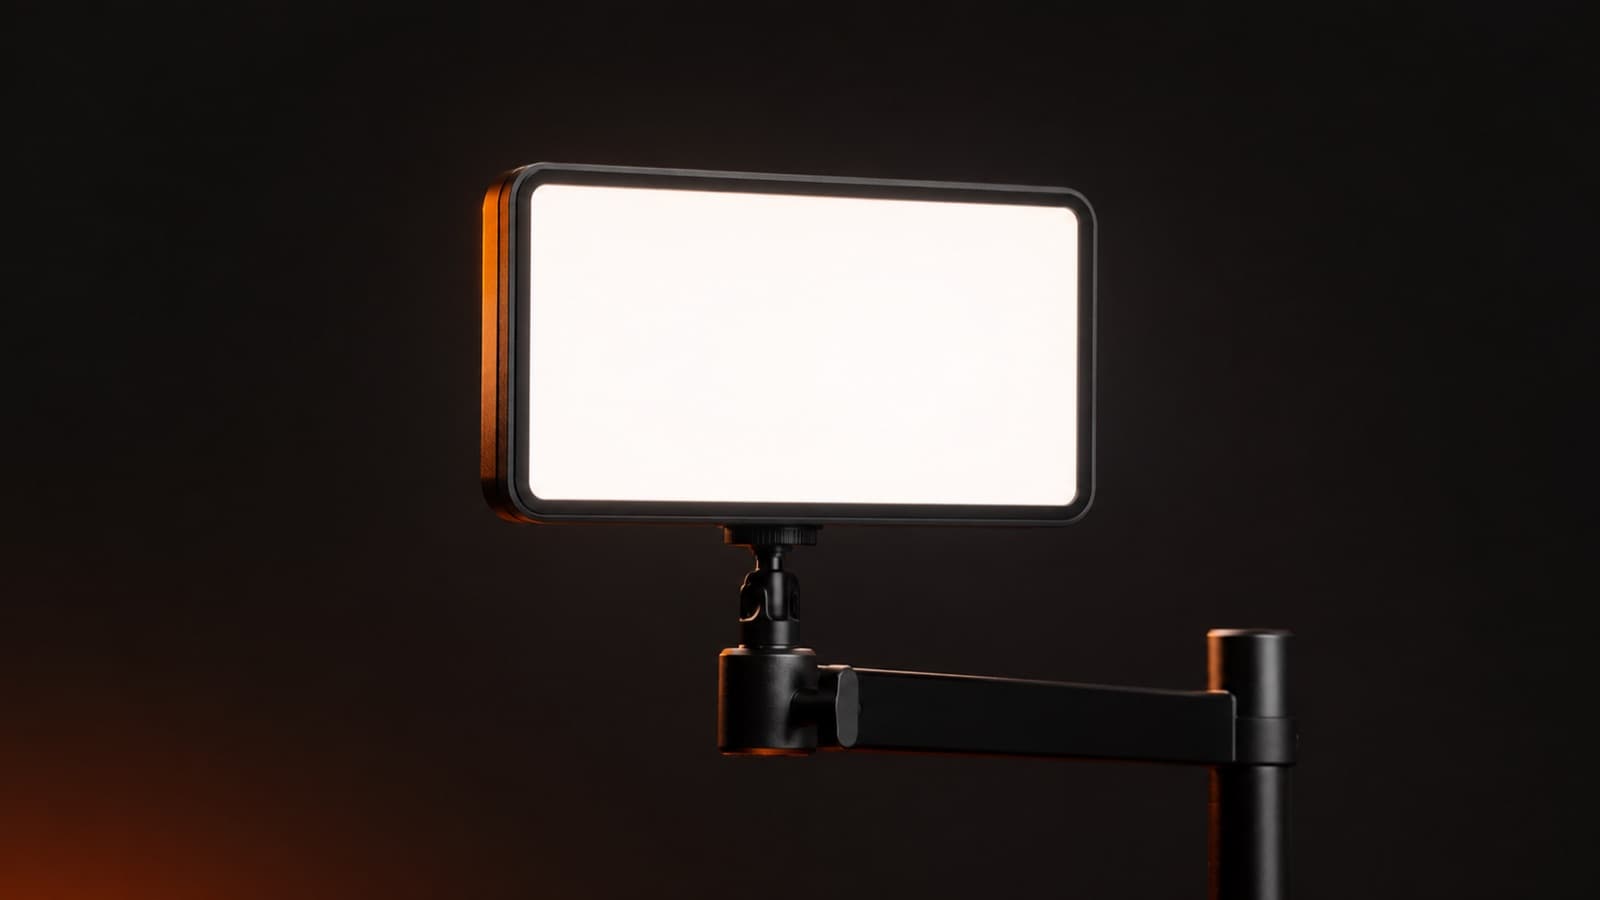
- Desk/streamer — Elgato Key Light (built-in diffusion, app control), ~US$130-200 — mid tier, convenient for a fixed desk setup, popular with streamers worldwide.
- Mid — COB + softbox — Godox SL60IID (CRI 96, Bowens mount) or Aputure Amaran 60d S (CRI 96), ~US$130-200 — the best value; the 100d S is the step up (~US$180-230, more powerful). Inside a softbox, it becomes a gorgeous key. They're daylight (5600K).
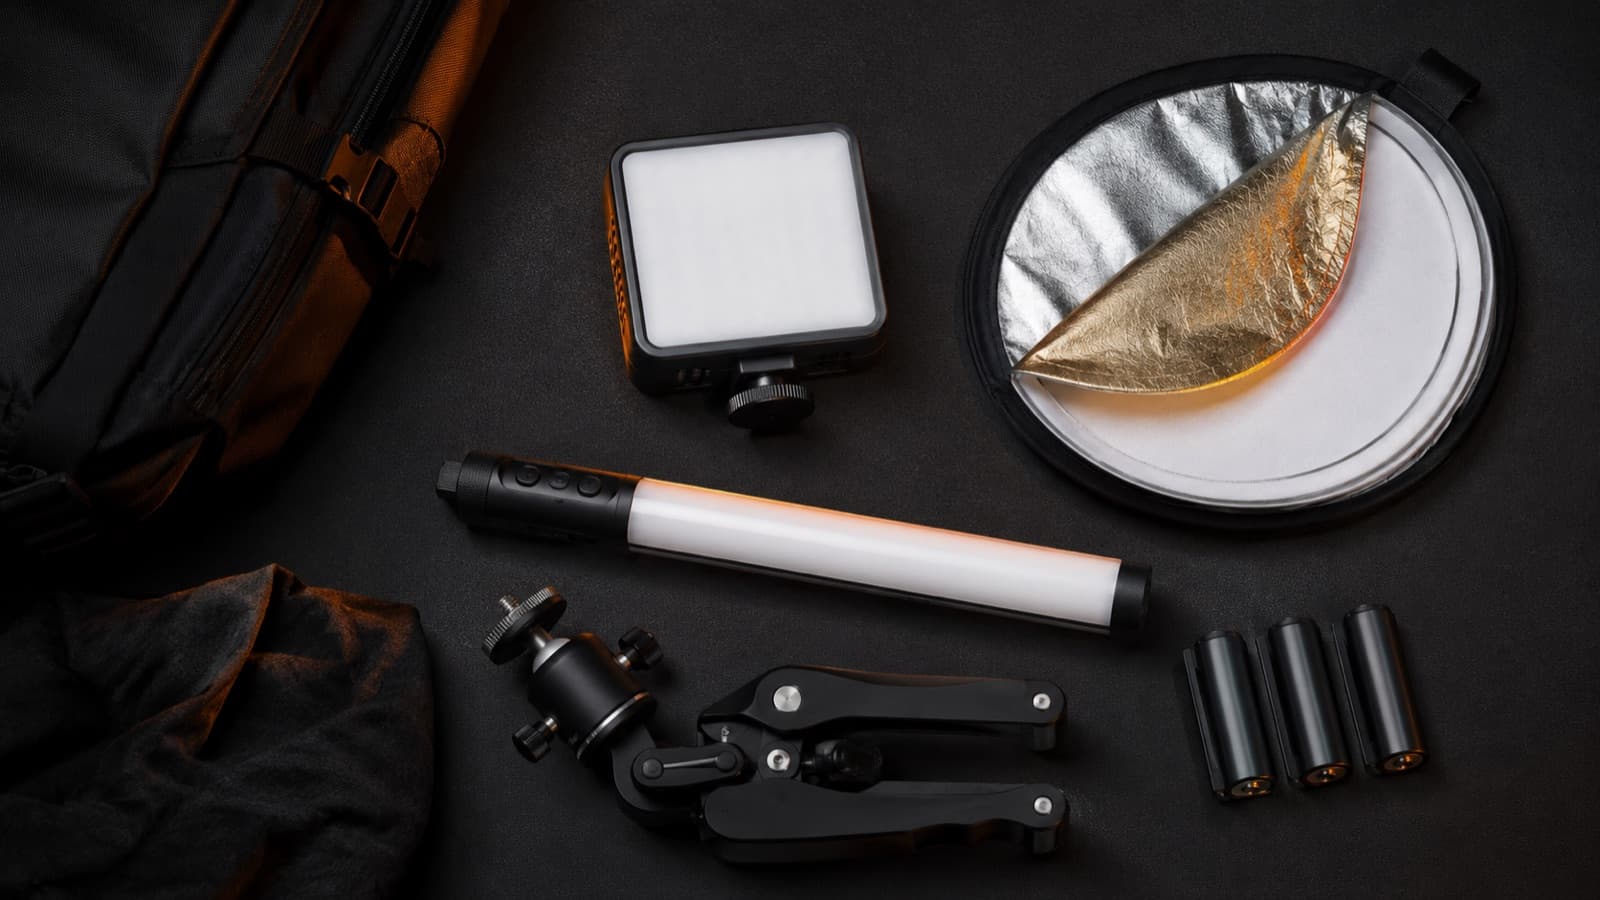
- The accessory that changes everything — a 5-in-1 reflector/diffuser (~US$20-40) + a softbox — cheap at any tier. The best return per dollar spent: buy it together with the light, not later.
Thinking about what's worth carrying (pros and cons, no fluff):
- LED panel — the workhorse — ✅ light, versatile, works for almost anything and the easiest to tame. It's the “always good to have in the bag.” ❌ on its own it doesn't put out as much power as a COB.
- COB + softbox — the studio — ✅ more light per dollar and the prettiest key (inside the softbox). ❌ heavier, runs hot, and DEPENDS on the modifier so it doesn't become hard light.
- Ring light — the practical one — ✅ dirt cheap, instant, great catchlight for beauty/selfie. ❌ “flat” light (no volume) and disappears in the sun.
- Foldable reflector — the one that always tags along — ✅ light, folds into a disc, uses no power/battery, fits any bag. Bounces light for free. ❌ depends on having a source (sun/light) to bounce.
- RGB / tube — the accent — ✅ instant color for the background and effects, light. ❌ it's an accent, not a key replacement; the CRI of cheap ones can be weak.
Brands: pro vs. value. You don't need the top of the line to start well:
- Pro (flawless color) — Aputure and Nanlite — best color science, build and ecosystem (app, accessories). Pricey, aimed at production; overkill to start.
- Value — the recommendation — Amaran (Aputure's sub-brand: inherits the color, CRI ~96, fair price) and Godox (cheaper, huge range). This is where the beginner gets in.
- First tight kit — Neewer — cheap light + softbox + tripod kits in one bundle; less reliable color, but it gets the project moving.
- Pocket / portable — Ulanzi and Aputure MC — the rechargeable little light that lives in the bag. Steer clear of unbranded generics (bad CRI → greenish skin).
And the modifier (what shapes the light) matters as much as the light. What to buy — and when:
- Softbox — soft, DIRECTIONAL, controlled light (it doesn't blow out the background). The Bowens mount matches the COBs. Buy it if you shoot interview/course/product and want control.
- Umbrella — cheap, light, sets up in seconds and covers a wide area — but it spills light everywhere (less control, can create a hotspot). Buy it if the budget is tight and the spill doesn't bother you.
- Reflector (5-in-1) — your 2nd light point almost for free: it bounces the light that's already there to open the shadow. Light, no battery, fits the bag — buy it BEFORE the 2nd light.
- Lantern / dome (360°) — fills the room with soft, natural light — phase 2 of a fixed studio: takes up space and travels poorly.
Lighting goes hand in hand with color and it's a pre-production decision — thinking about light before you shoot avoids the “fix it in post” that never looks good. Even when shooting with your phone, it's the light (not the camera) that decides whether the image looks amateur or professional.
6. Light patterns (and types of LED)
A “light pattern” just describes where your main light sits and what shadow it casts on the face. A trick to memorize them: start with the light in front of the nose and “walk” it to the side — you pass through every pattern in order.
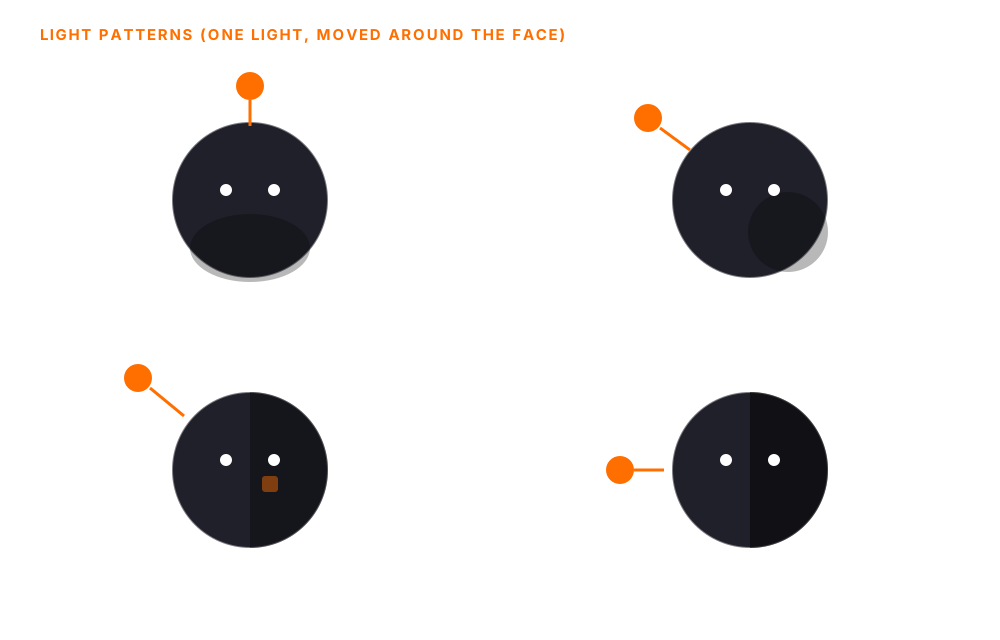
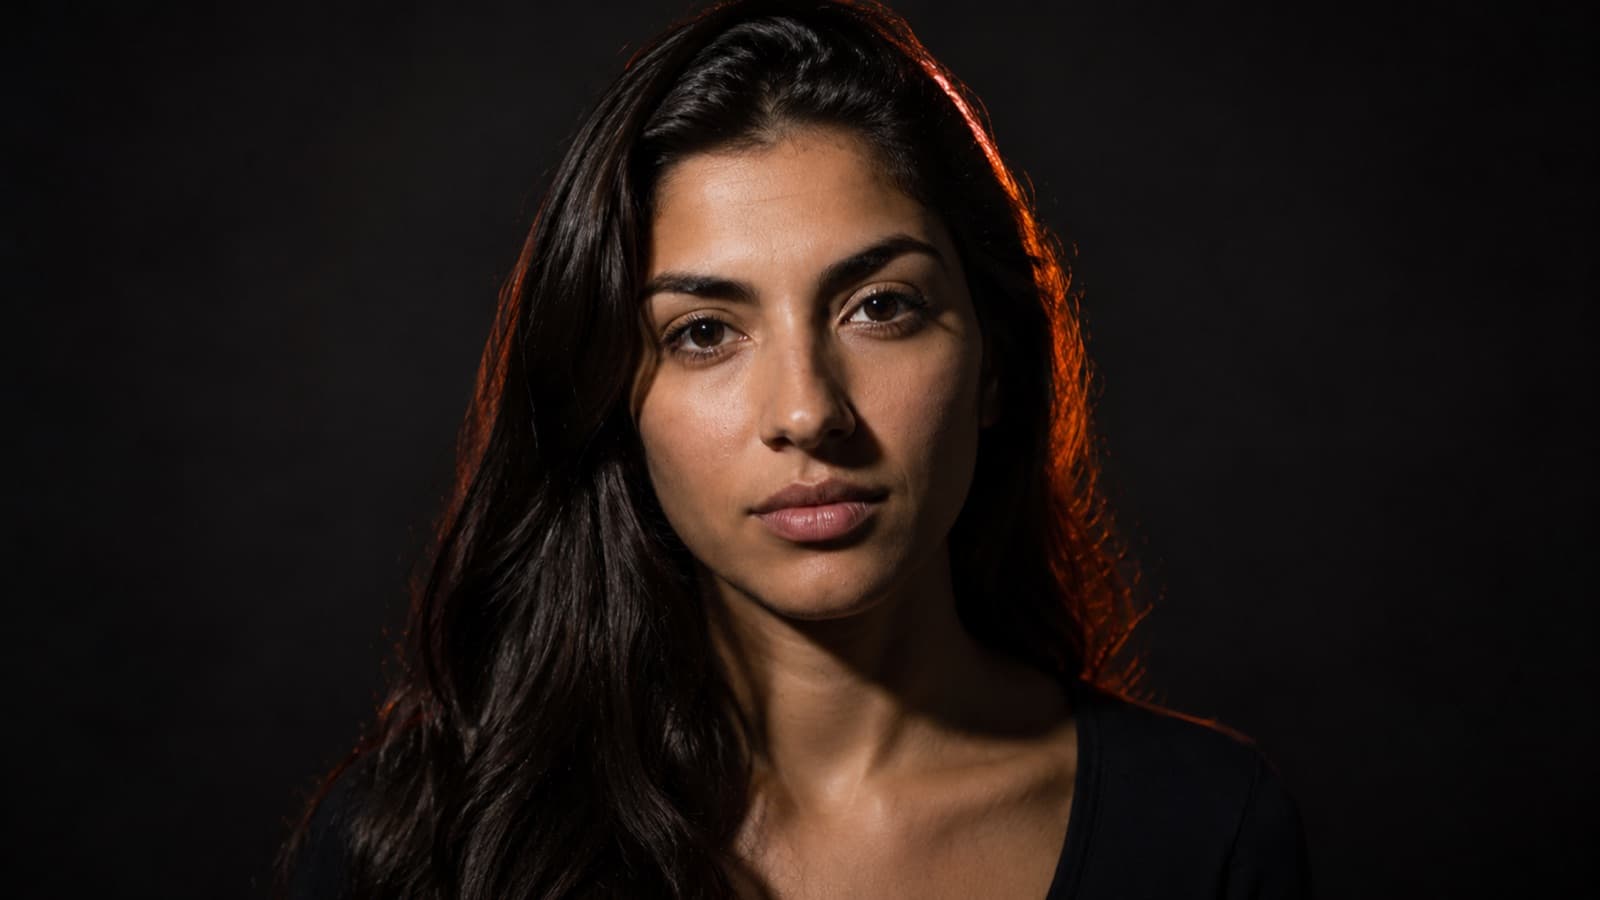
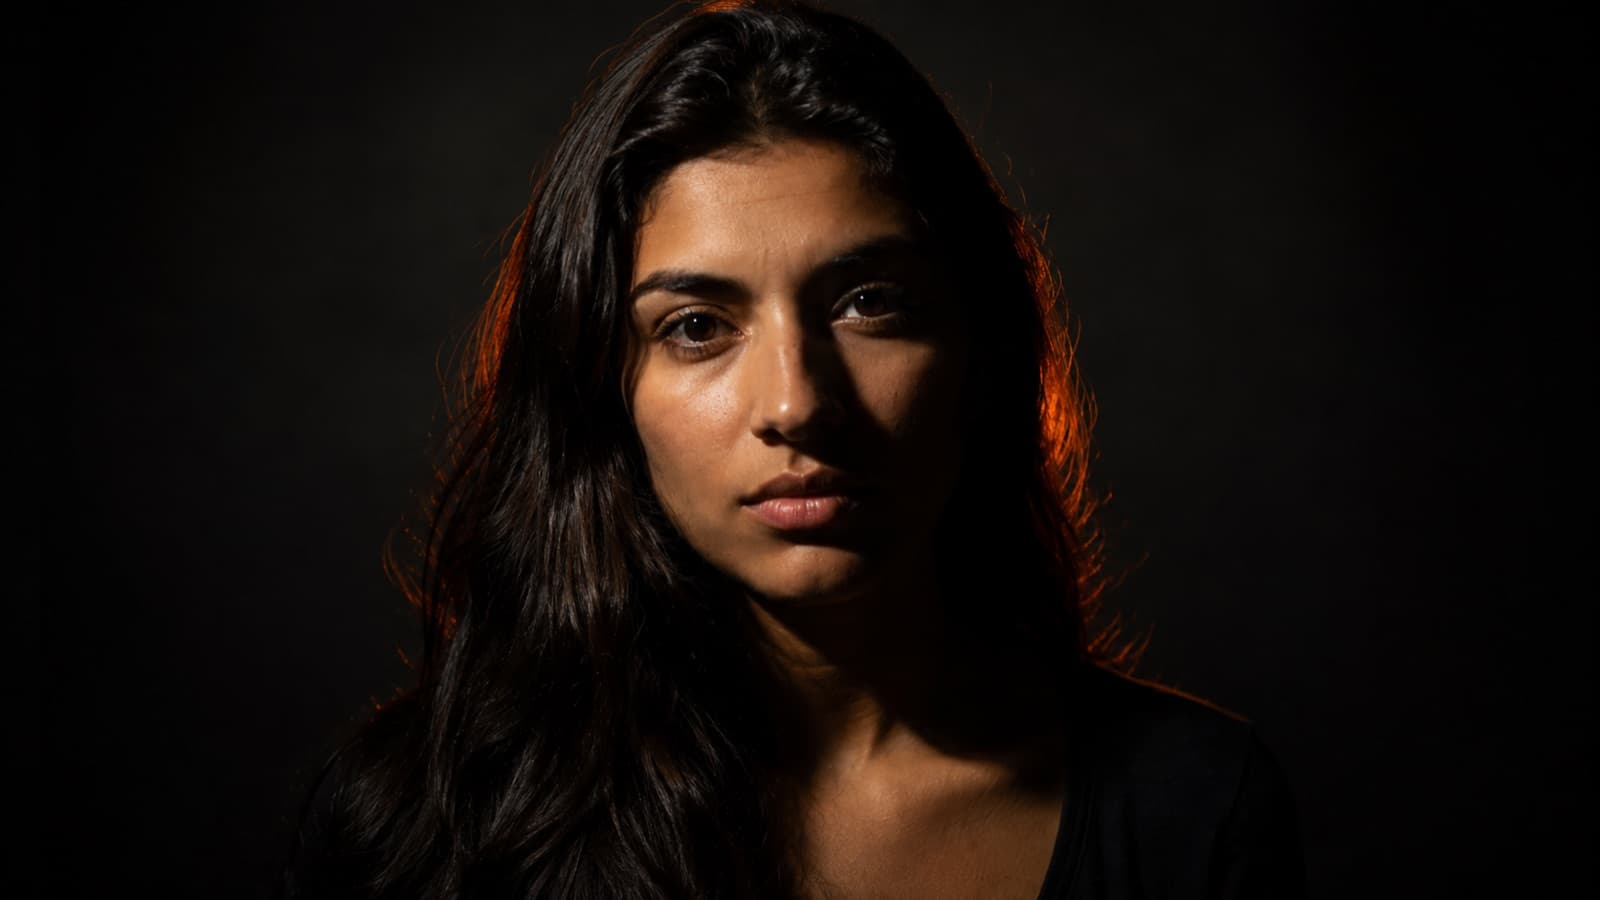
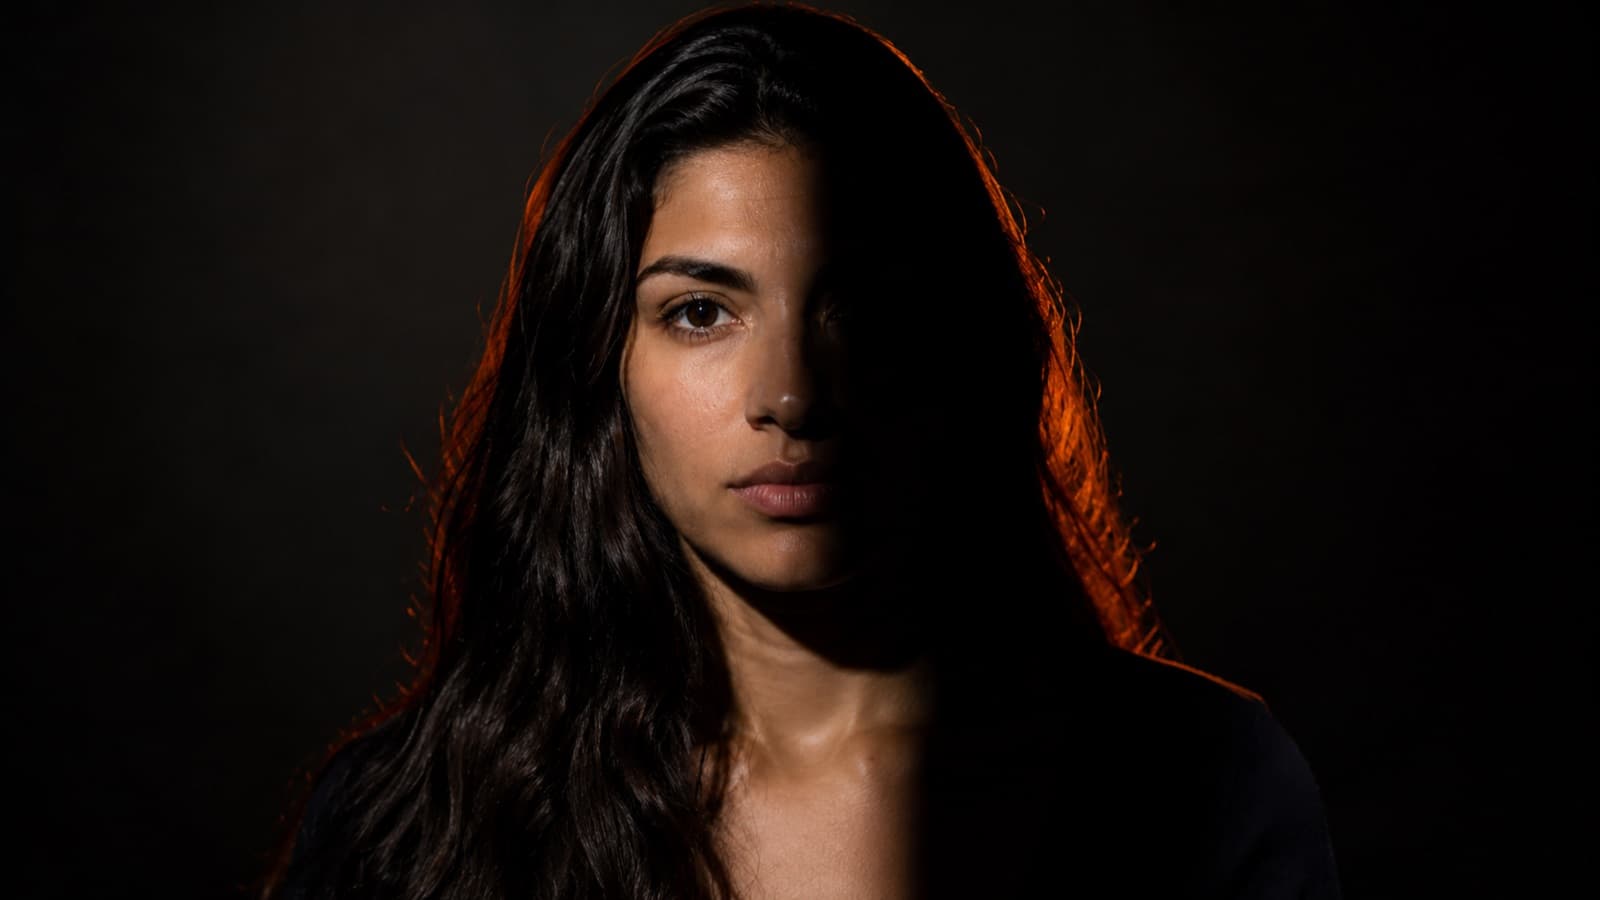
- Butterfly — light in the center, high — a “butterfly” shadow under the nose. Glamour/beauty (the ring light does this almost on its own).
- Loop — light ~30-45° to the side — a small shadow beside the nose. The most natural and flattering: if you learn one, learn this.
- Rembrandt — light further to the side — the shadow closes in and leaves a triangle of light on the cheek. Dramatic, cinematic.
- Split — light at 90° — half the face in shadow. Very dramatic (good for a thumbnail/mood).
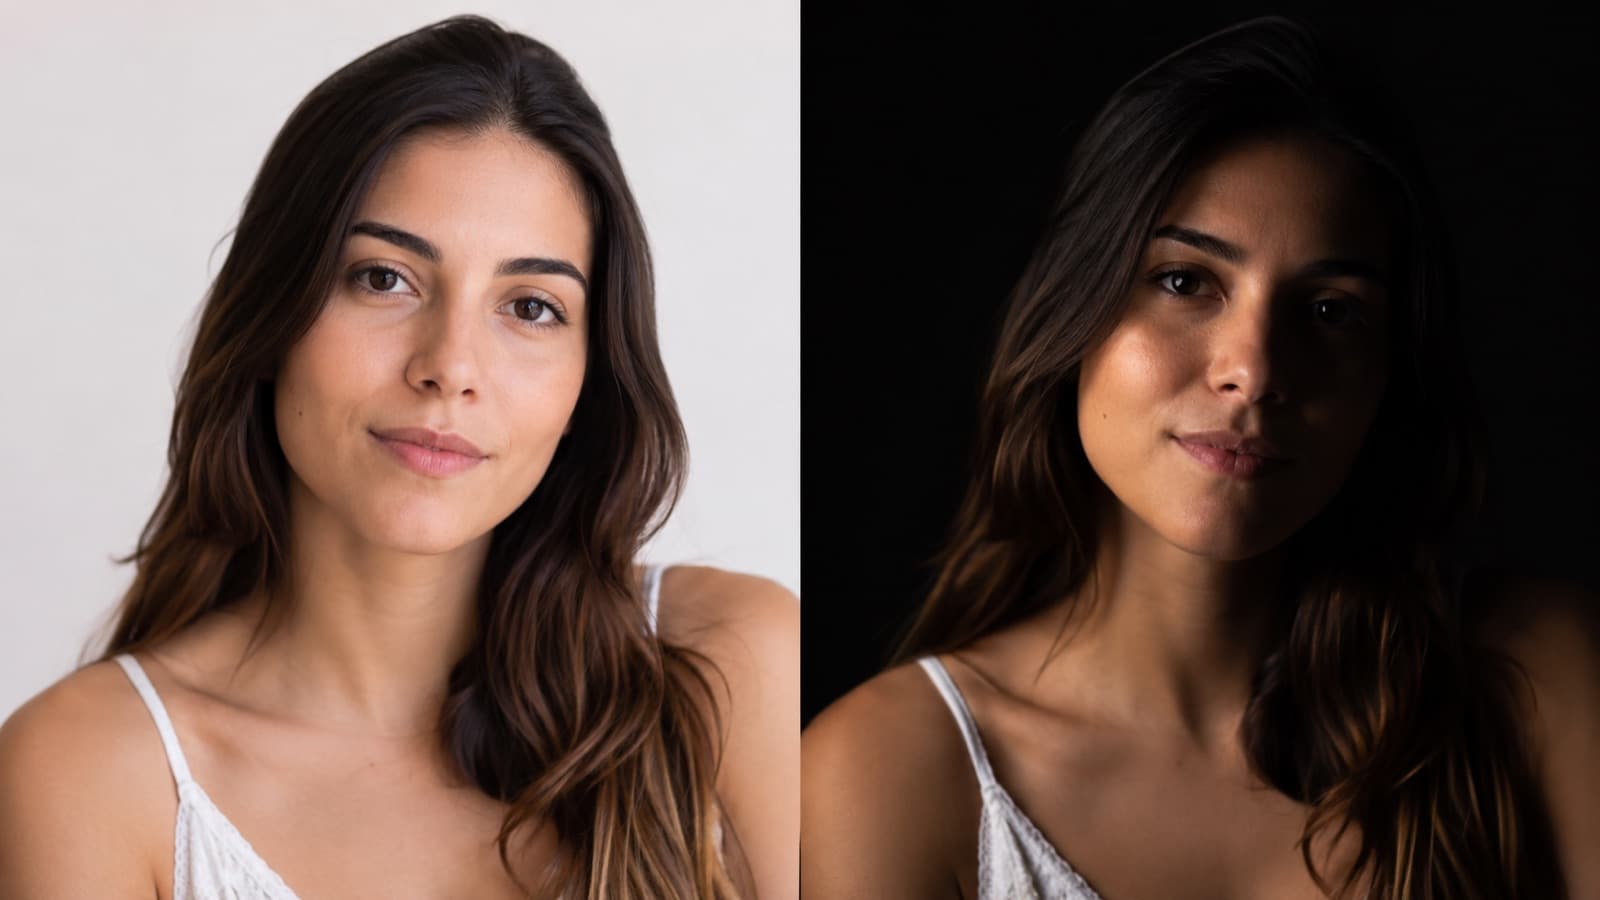
And there's the overall brightness of the image: high-key (bright, almost shadowless — cheerful, great for kids and tutorials) vs. low-key (dark, shadow-dominated — dramatic and premium). For a beginner, high-key is more forgiving.
- LED panel — a large, soft source out of the box — the friendly workhorse for talking-head/streaming.
- COB — a strong chip to use with a softbox/umbrella — more light per dollar, the “studio” (you pick the modifier).
- Ring light — a ring you film through the middle — shadowless light + that round catchlight. The easiest for selfie/beauty.
- Tube / RGB — a color stick for background and effects (fire/police/party) — great for kids and a creative accent.
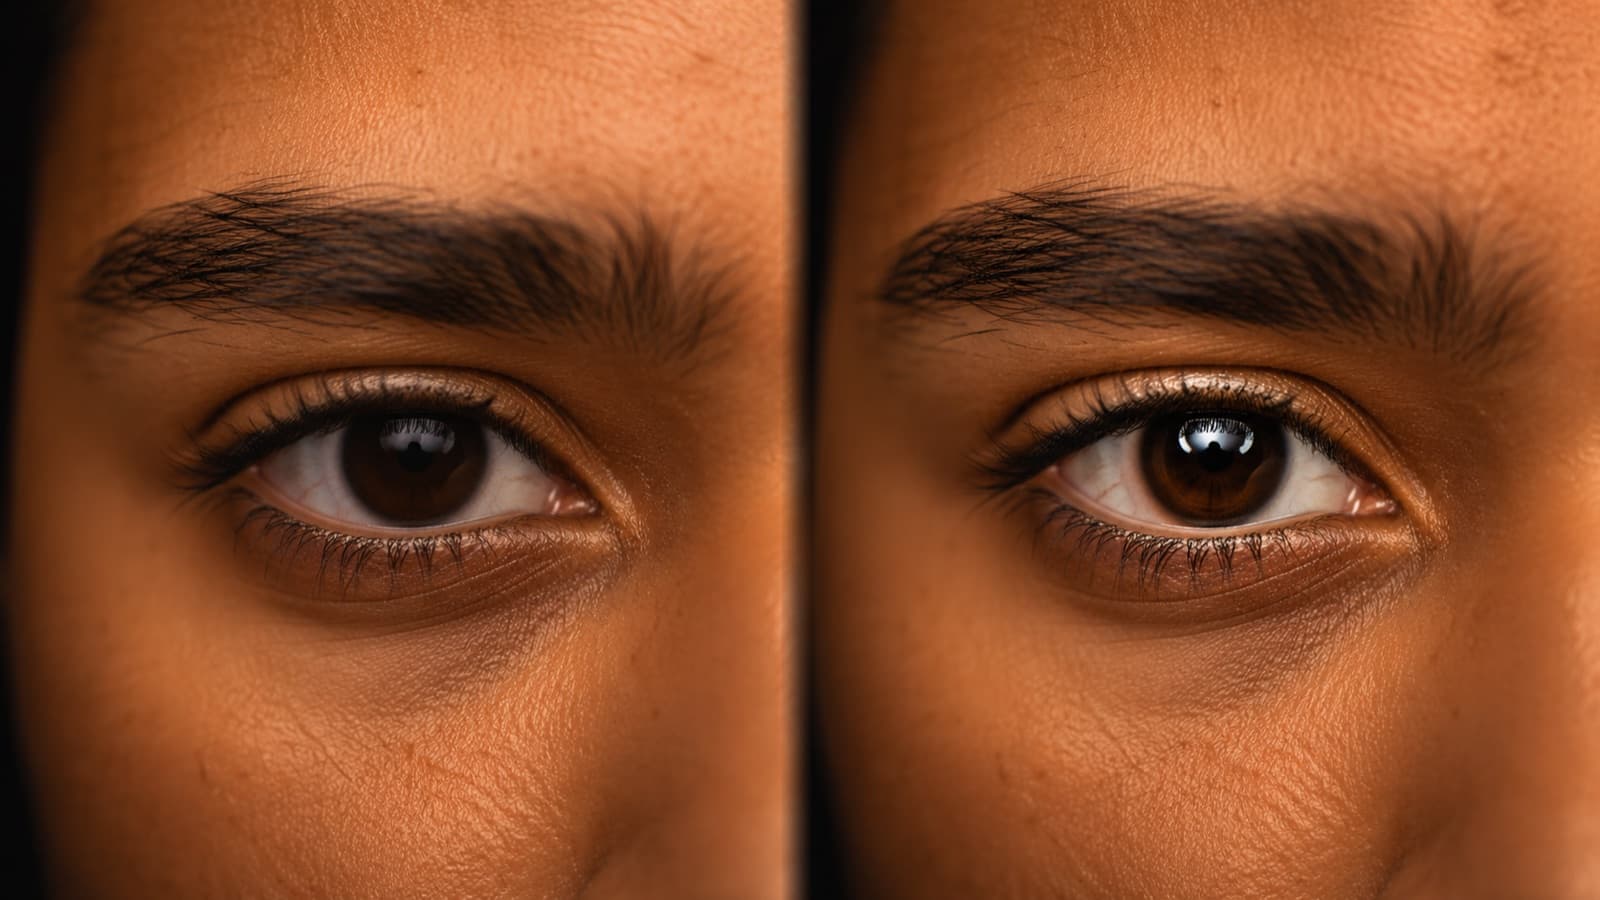
A small detail that brings the eyes to life: the catchlight — the reflection of your light in the person's eyes. An eye without a catchlight looks dull; with it, the gaze lights up. Any large light in front (window, softbox, ring light) already creates that sparkle — it's free, just don't waste it.
7. The background is a lighting decision too
Almost no one thinks about it, but the background is half the image — and you decide what to do with it using light:
- Kill the background (black background) — don't light the background and move the person away from it: the background “falls” to black, the home clutter disappears and you're left with a dramatic, premium look. The backlight (rim light) becomes essential here to separate the person from the dark.
- Light the background (bright and clean) — a separate light on the background (the wall, a panel) keeps everything bright, airy and friendly — the “tutorial/course” look.
- Color the background (gel or RGB) — a color on the background makes the person pop and gives the video identity. Two ways: a GEL (a colored sheet in front of the light — cheap, the classic way) or an RGB LIGHT (it does the color on its own, no sheet). A blue, a magenta behind completely changes the mood.

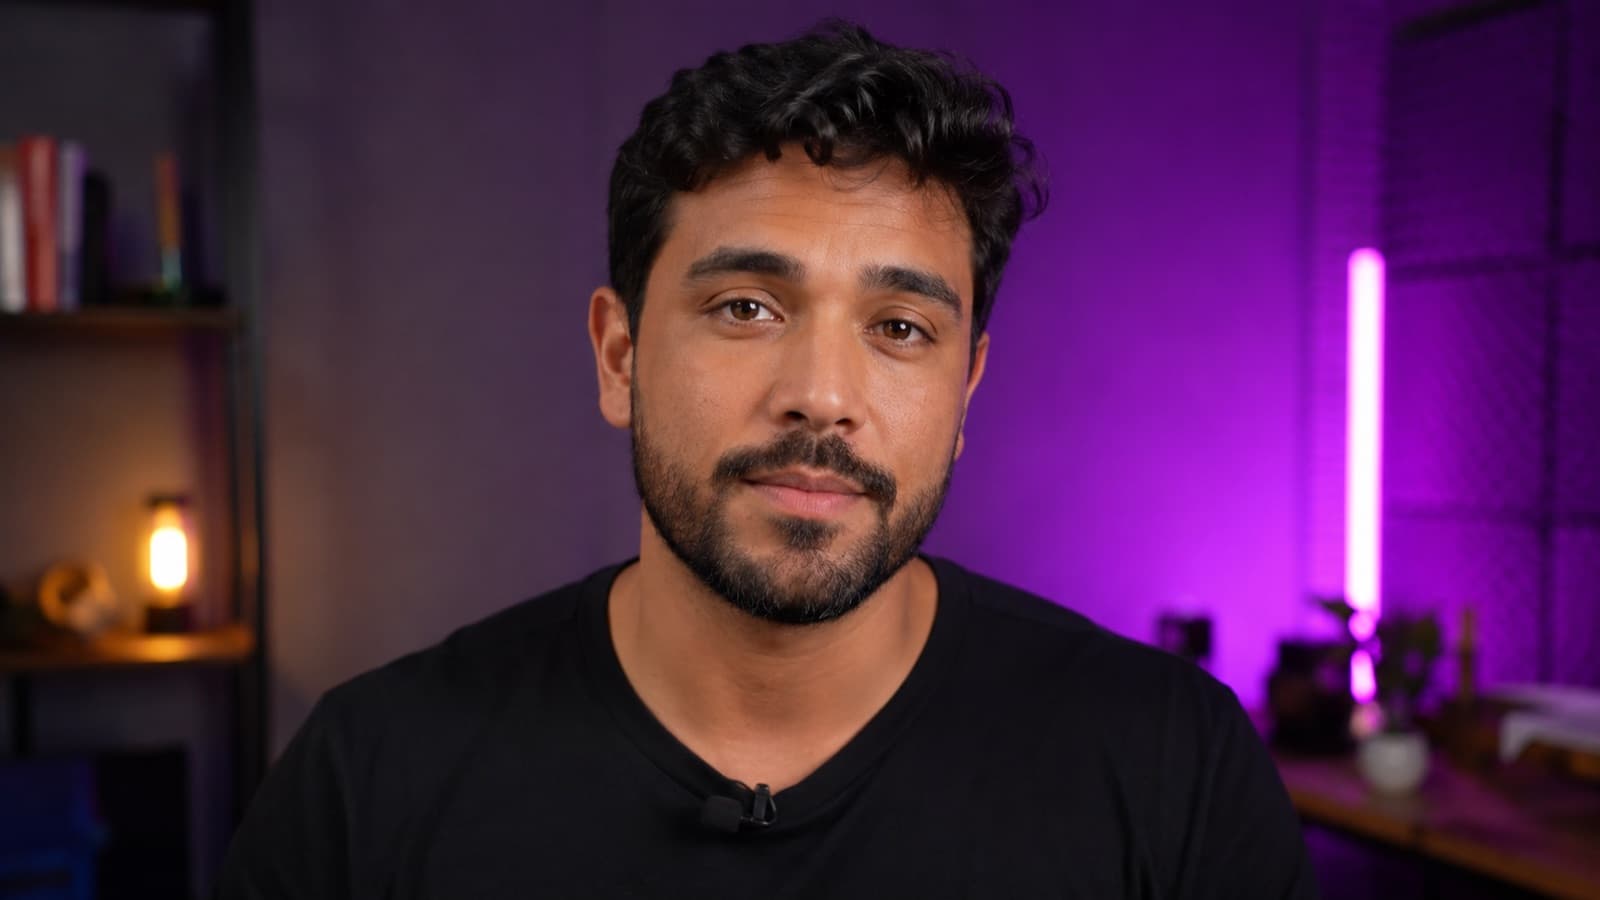
A rule worth its weight in gold: light the background separately from the person. If the same light hits both, you lose control — it's by separating them that you decide the mood of each.
8. Two touches that add production value
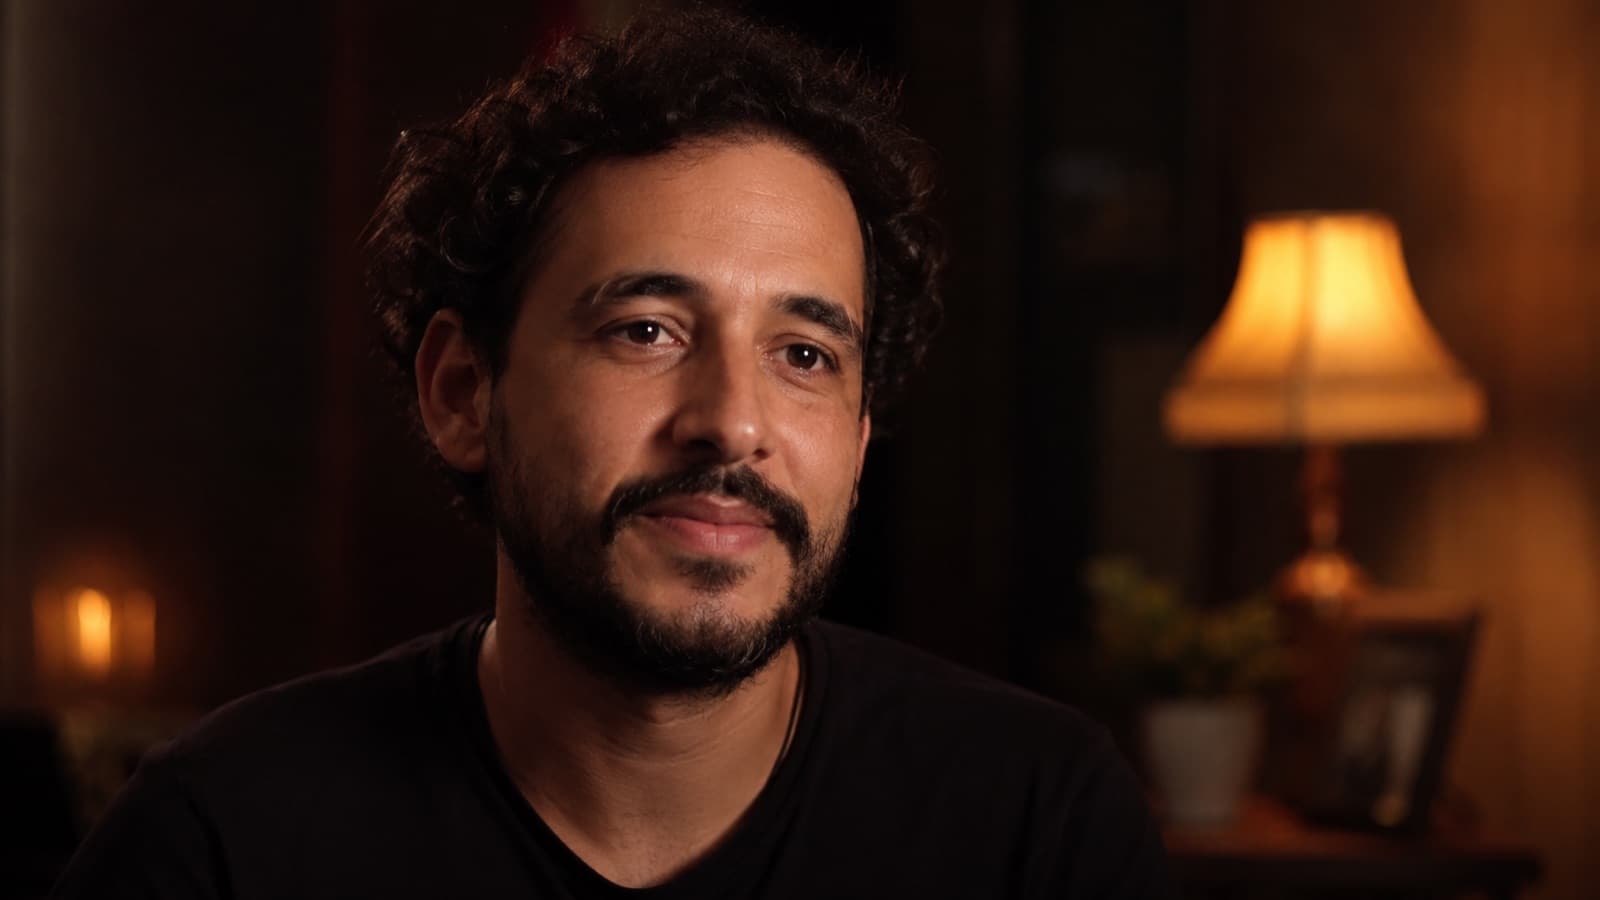
Two cheap extras that lift things a lot: the practical lamp — a warm lamp lit inside the frame, in the background. It costs almost nothing (a thrift-store lamp) and adds warmth, depth and that out-of-focus glow (bokeh) — the light now has a “reason” to exist in the scene.
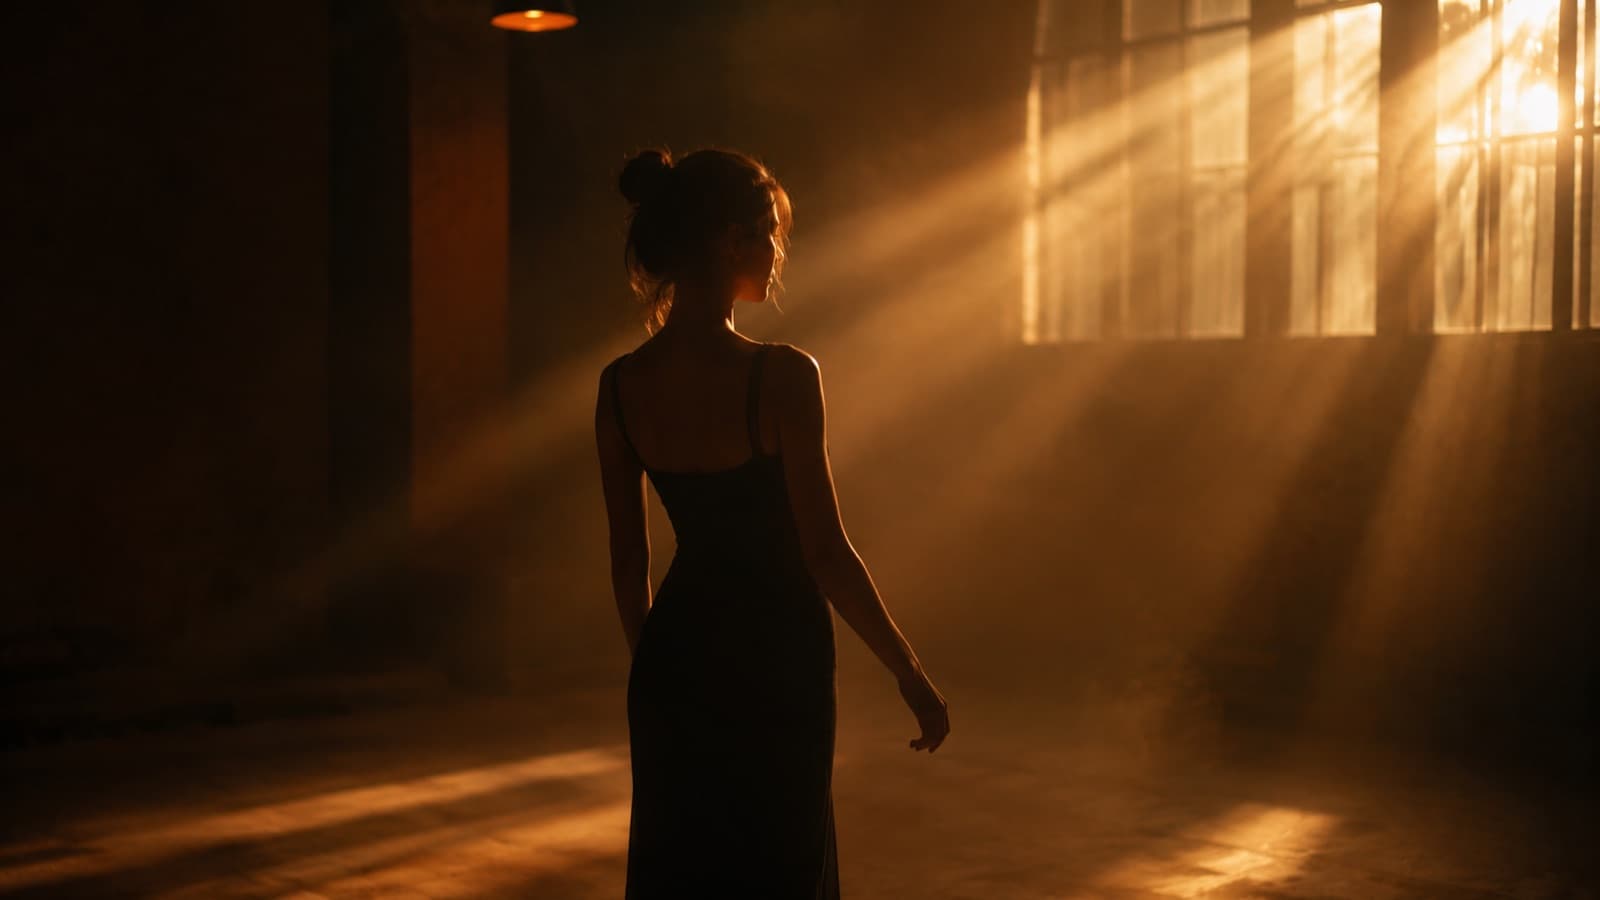
And what makes the beam of light appear in the air (that cinematic look) is haze: a very thin veil of mist that makes the light visible — ≠ smoke, which is dense and hides. It's a pro tool: it needs a machine, fluid, ventilation and it sets off the smoke alarm — good to know it exists, not for the home kitchen. And the golden rule of haze: less is more.
Quick questions
What's the best lighting for filming video at home?
A single soft, large, well-placed light already solves most cases: a softbox or LED panel with diffusion at ~45° to the face and a bit above the eyes, letting the room light fill the other side. Large, soft light flatters; small, hard light carves heavy shadows. If you can add a second light, put a backlight behind you — that's what gives the most “professional look.”
What is three-point lighting?
It's the classic video setup with three lights playing different roles: the key (main, strongest, sets the exposure and the shadow direction), the fill (softer, on the opposite side, just to lift the shadow) and the back or backlight (behind you, aimed at shoulders and head, creating a rim of light that separates you from the background). You don't always need all three, but understanding each role is what unlocks the professional look.
What is color temperature and how many Kelvin should I use?
Color temperature is the “color” of light — warmer (orange) or cooler (blue) — measured in Kelvin (K). The counterintuitive part: the lower the number, the warmer. ~3200K is warm tungsten; ~5600K is daylight. There's no universal “right” number — choose on purpose based on the mood (warm = cozy; cool = clean and modern) and, above all, keep the same temperature across every light in the scene.
Why can't I mix warm and cool light in the same scene?
Because the camera's white balance is a single setting. If a warm bulb (~3200K) and a cool window (~5600K) hit the same face, no adjustment makes both sides look natural: one goes orange, the other blue. The fix is to unify — keep every light at the same temperature (all “daylight” near the window, or block the window and use only the warm ones). Bi-color or RGB lights help match everything.
Do I need expensive gear to get good light?
No. Lighting is the highest-return technique in video precisely because the result comes more from position and quality (soft vs. hard) than from price. A large window works like a giant softbox and is free; a white board on the other side acts as fill. When you do buy, an entry-level light with high CRI (aim for CRI 95+) already delivers natural skin — what separates amateur from professional is knowing how to place it, not spending more.
What's the difference between an LED panel, a COB and a ring light?
The LED panel is a large, soft source out of the box — the light, versatile workhorse for talking-head and streaming. The COB is a strong chip you use inside a softbox or umbrella: it puts out more light for the price and the prettiest key, but it depends on the modifier so it doesn't become hard light. The ring light is a ring you film through: cheap, instant and a great catchlight for beauty and selfies, but it gives a “flat” light (no volume) and disappears under the sun.
Is natural light good enough for professional video?
It is, and it's beautiful — as long as it's controlled. The secret is to seek soft, directional light, not raw sun. Stand to the side (~45°) of a large window, use a white fabric to diffuse direct sun, and a white reflector on the opposite side to open the shadow on the face. Avoid the harsh midday overhead sun (it carves hard shadows under the eyes and blows out the forehead) — at that hour, move to open shade, under a tree or an awning.
Sources
- StudioBinder — Three-Point Lighting — a guide to key, fill and back light.
- Videomaker — White Balance & Color Temperature — color temperature and white balance explained.
- DIY Video Studio — Best Color Temperature for Video — which Kelvin to use and why not to mix.
- Digital Camera World — Best Video Lights 2026 — an overview of video-light categories and tiers in 2026.
You handle the light at recording time — and it's in the edit that HEY JOE gets the most out of it: color, contrast and the look that makes the video feel expensive. If you'd like guidance on preparing your footage so it goes further in post, we'll help you think it through — just request a quote.